I decided to climb Mera Peak on a bit of a whim when the original trek I’d planned to Upper Dolpa turned out to be too expensive. Swotah Travel & Adventure gave me a Mera Peak climbing itinerary, but after doing some research I asked if I could make some alterations. I wanted to make sure I had plenty of time to acclimate and enjoy the trek, so I took the longest route.
Mera Peak Climbing Route Options
There are several different climbing routes available for Mera Peak. The most popular is to go over the Zatrwa La Pass on the second day. The pass is 4600m and you sleep at a whopping 4200m. Most of the people who came this way described it as extremely difficult, and most suffered altitude sickness on the second night.
Another route requires flying to Phaplu, and then, going a roundabout way toward Mera Peak. Although I didn’t take this route, it may be the smarter way to go for unexpected weather. My flight to Lukla Airport was canceled three days in a row on the way there; however, flights were getting into Phaplu Airport. Also, flying into Lukla is a crazy experience in itself. If you’re afraid to fly, here’s how to take a Jeep ride to Phalpu.
One can also take a jeep to Jiri and then trek up from there. This adds a lot of time to the trek, and I hear the jeep ride is rough, as it takes a lot of small unpaved roads. In the end, I chose to fly into Lukla, and take a long route around the Zatrwa La Pass to give myself time to acclimate properly.
Mera Peak Itinerary Overview
Duration: 15 days
Duration depends on which route you choose to take. This is a longer route that allows more time to acclimate.
Difficulty Level: Difficult/Very Difficult
Highest Altitude: 6,476 m (21,247 feet)
Permits: The Sargarmatha National Park entry fee is 3,000 rupees and the TIMS is 2,000 rupees. You’ll also need a climbing permit.
Guide Required: A local guide is required for the areas above Khare. I recommend a guide for the entire trek as even the “easy” days were difficult.
Day 1 – Lukla to Paiya
Time Trekking: 4-5 hours
Lukla Altitude: 2,840 meters (9,317 feet)
Paiya Altitude: 2,730 meters (8,956 feet)
Oxygen Concentration: 73%
Distance Covered: 8km
Typically, you would take an early morning flight from Kathmandu to Lukla. Unfortunately, I experienced bad weather three days in a row and was stuck at Kathmandu’s airport. I ended up chartering a helicopter late in the afternoon on the third day, so we spent a night in Lukla and started to hike first thing in the morning.
Although most itineraries say that this is a few hour hike, it actually took us closer to five hours. We stopped in Pakhepani Village for lunch. After lunch, we crossed the Chutok La Pass (2,945m). I would describe day one as “hell.” After three days in an airport just sitting, plus a week of being sick before that, I felt highly unprepared. Day one is mostly walking up and down steep uneven steps. Training on a stair stepper at the gym for a couple hours a day would have made this a lot easier.
Day 2 – Paiya to Panggom
Time Trekking: 5-6 hours
Paiya Altitude: 2,730 meters (8,956 feet)
Panggom Altitude: 2,804 meters (9,199 feet)
Oxygen Concentration: 72%
Distance Covered: 12km
Meters Walked Uphill: 1,700m
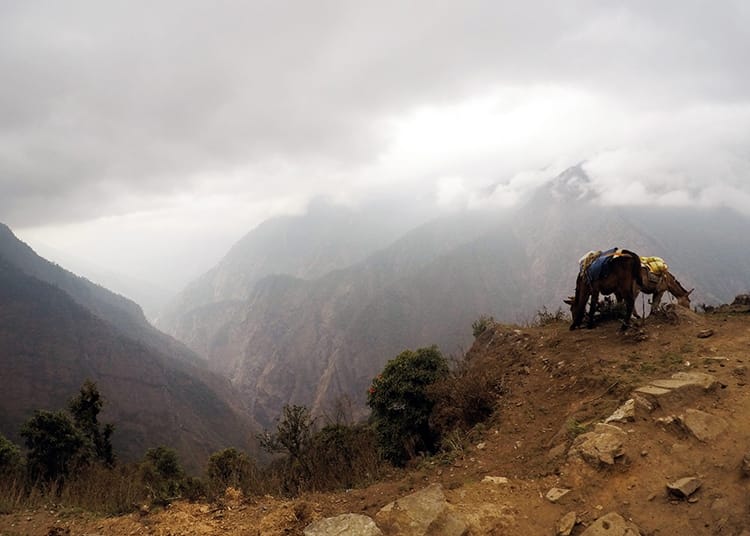
The trek from Paiya to Panggom is long and hard with huge steep inclines. There are a lot of uneven steps going uphill making it a difficult walk. Originally, I chose this route for acclimation purposes, and the fact that the first few days were all around 3,000m in elevation made it seem like a nice warmup. Another trekkers Garmin watch told us that we had actually gone downhill 1,700m and back uphill 1,700m over the course of five hours.
Despite the hard walk, it’s a nice way to lead up to Mera Peak. We had extremely warm weather, and I was able to walk in a t-shirt and leggings. We stopped at Karte for lunch on route to Panggom. The trek felt like we were going through a jungle which was a really nice contrast to all the snow we would face later. It also gave me time to acclimate and by day three or four, I was used to limited oxygen. In Panggom, there’s a small hike up to a monastery which is great if you have the energy. We happened to arrive during a Puja when hundreds of monks came to the area to pray.
Day 3 – Panggom to Ramailo Danda
Time Trekking: 5-6 hours
Panggom Altitude: 2,804 meters (9,199 feet)
Ramailo Danda Altitude: 3,276 meters (10,748 feet)
Oxygen Concentration: 68%
Distance Covered: 9km
Meters Walked Uphill: 1,300m
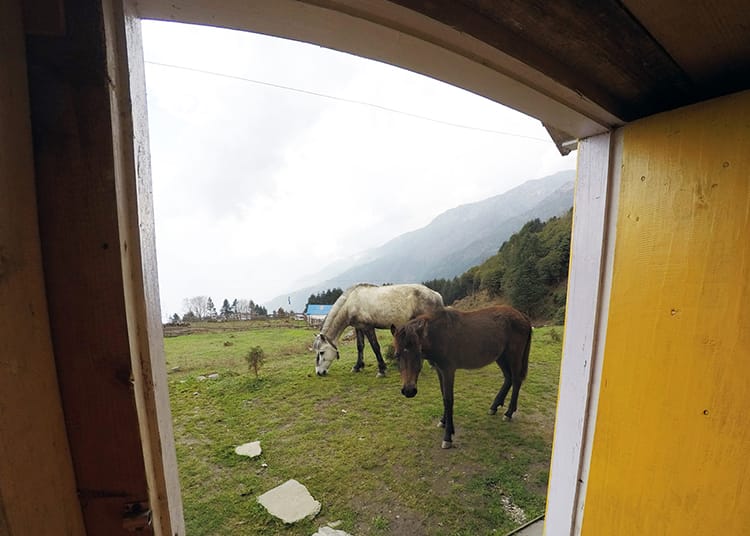
The original itinerary said we would sleep in Ningsow, but we ended up having lunch there and continuing onto Ramailo Danda. The trek to Ningsow has a nice slow decrease in elevation followed by a steady increase back up. We passed tons of mani walls which are stones engraved with Tibetan Buddhism prayers. You go over the Panggom La Pass (3,174m) on route.
After lunch, there’s a steep incline going up to Ramailo Danda. This part of the trek is difficult but offers beautiful views. I agreed with my guide afterwards that the extra 1-2 hours to the next village was a smart decision. Otherwise, you have to do that section first thing in the morning on day 4 which was already an excruciatingly long day.
In the first four days, you should expect extremely basic accommodations with squat toilet style outhouses, some solar power electricity or none at all, and limited water. One place we stayed didn’t even have a proper floor and was just dirt. That being said, you get to see a much more authentic version of Nepal that is off the beaten path of most tourists. I only saw two other trekkers in the first four days and would later run into big groups once we got back on the main trail.
Day 4 – Ramailo Danda to Takto
Time Trekking: 8 hours
Ramailo Danda Altitude: 3,276 meters (10,748 feet)
Takto Altitude: 3,670 meters (12,040 feet)
Oxygen Concentration: 65%
Distance Covered: 14km
Meters Walked Uphill: 2,000m
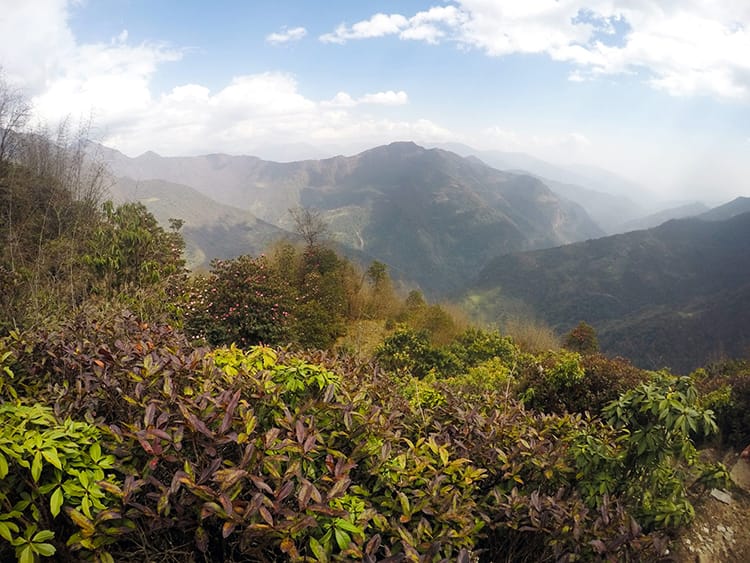
The trail from Ramailo Danda to Takto starts out with the most beautiful rhododendron forest in the entire trek. The rhododendron is the national flower of Nepal, and you can see why. With the morning light, I felt like I was walking through a fairy tale with moss climbing up the trees and bright red and pink flower petals falling to the ground. If you sit around very quietly for long enough, you might get a chance to spot the rare red panda.
I found this day to be excruciating. We hit clouds and fog which made it feel like we were on a treadmill. I couldn’t see any views for 6 hours and was absolutely exhausted. I’m not sure if I just mentally lost it because I couldn’t see how far we’d come or how far we had left to go, but I actually broke down in tears in my room this evening. Another trekker I was with flew back to Kathmandu on a helicopter the next morning because he was exhausted, sore, and wasn’t enjoying himself. Go into this day mentally prepared for it to be extremely tough.
Our original itinerary said to stop earlier in Chhetra Khola but my guide (as well as other guides on the same path) insisted it was better to continue on. I’m not sure why, but I’d imagine stopping in Chhetra Khola would have made the day much easier. Day 5 was super easy, so adding more to that day seems like it’d be a smart choice.
Day 5 – Takto to Kothe
Time Trekking: 3-4 hours
Takto Altitude: 3,670 meters (12,040 feet)
Kothe Altitude: 3,580 meters (11,745 feet)
Oxygen Concentration: 66%
Distance Covered: 7km
Here you’ll pick up the main trekking route and run into people coming over the Zatrwa La Pass (the harder route). From Takto we headed North on a very gentle incline. This day is extremely easy in comparison to past days. We took a tea break at Tashing Ongma and ate lunch at Kothe. Kothe is one of the first places where you can purchase a hot shower. Wifi is also available for purchase here and further up the mountain.
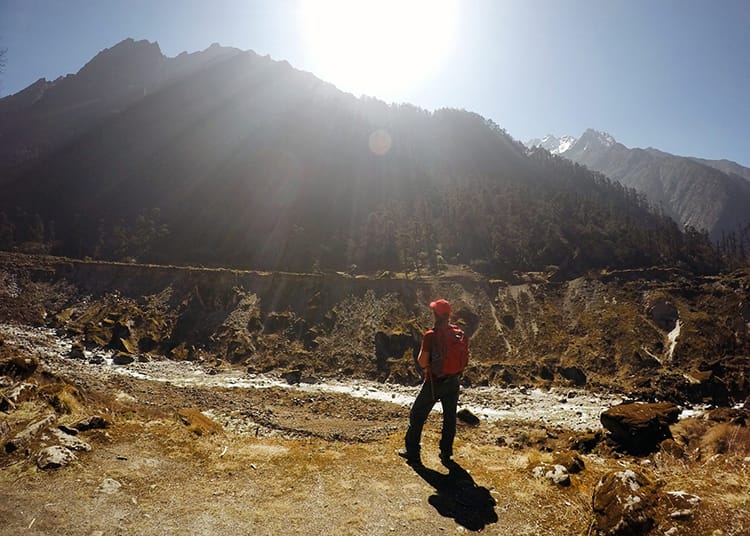
Day 6 – Kothe to Thangnak
Time Trekking: 3-4 hours
Kothe Altitude: 3,580 meters (11,745 feet)
Thangnak Altitude: 4,358 meters (14,297 feet)
Oxygen Concentration: 60%
Distance Covered: 7km
Meters Walked Uphill: 800m
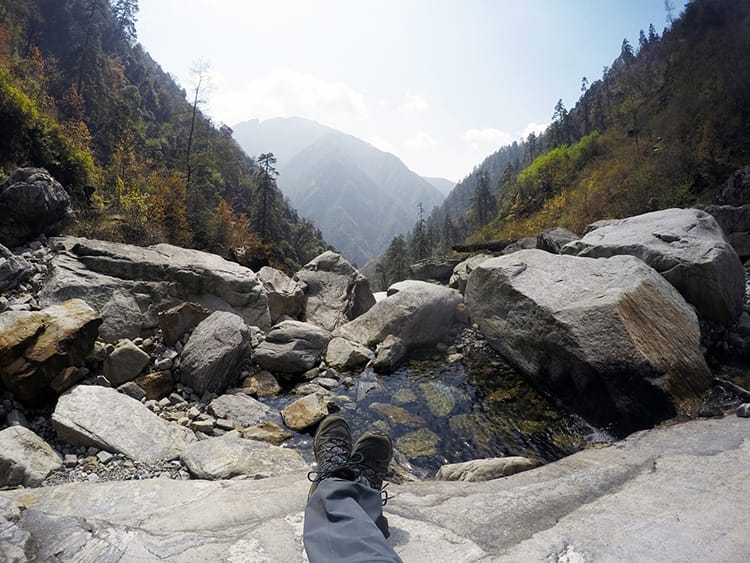
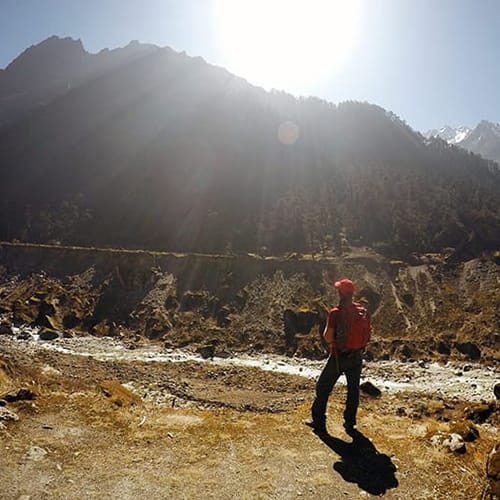
The walk to Thangnak is quick and easy. It only takes three to four hours and is a very gentle incline along the river with beautiful views. The round river rocks also create a nice change of scenery from the previous days spent in the forest. We stopped in Saurya for tea and ate lunch when we arrived at Thangnak.
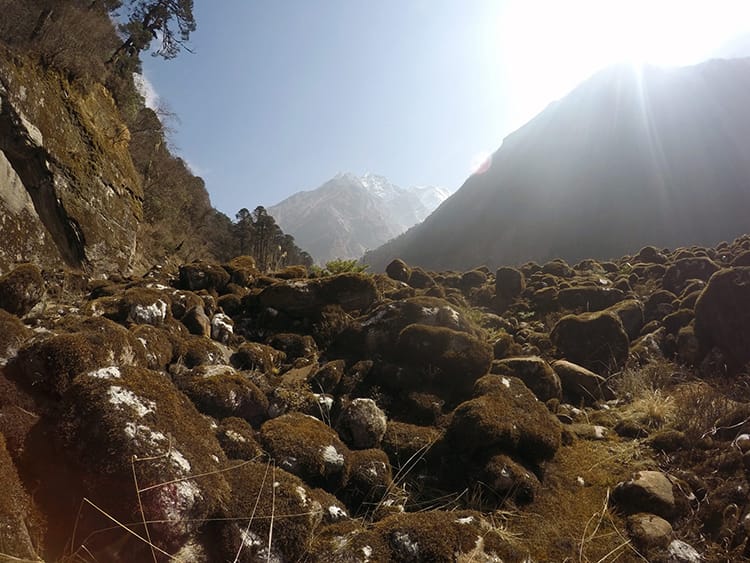
Day 7 – Rest Day in Thangnak
Time Trekking: Acclimation Hike
Thangnak Altitude: 4,358 meters (14,297 feet)
Oxygen Concentration: 60%
My guide opted to cancel our acclimation day in Thangnak. Most other groups spent an extra night here. I was feeling great at altitude and was barely having a problem breathing, so I didn’t argue. In hindsight, I didn’t remember how quickly the next few ascents were, and I wish we’d spent the extra day here.
On my trip to Everest Base Camp, I got a really bad cold which turned into pneumonia, so in my mind, I was battling between spending time acclimating, or possibly getting sick from being in cold conditions for an extra night. In the end, we skipped this day, but I wish I’d gone with my original plan to acclimate longer, since I got altitude sickness at High Camp and couldn’t even attempt to summit. If you choose to stay, there is an acclimation hike available up to 5,200m.
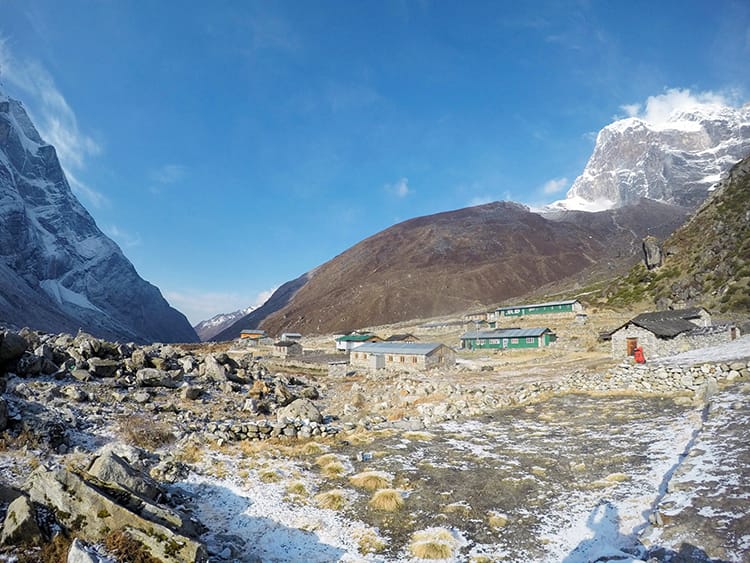
Day 8 – Thangnak to Khare
Time Trekking: 3-4 hours
Thangnak Altitude: 4,358 meters (14,297 feet)
Khare Altitude: 5,045 meters (16,551 feet)
Oxygen Concentration: 55%
Meters Walked Uphill: 700m
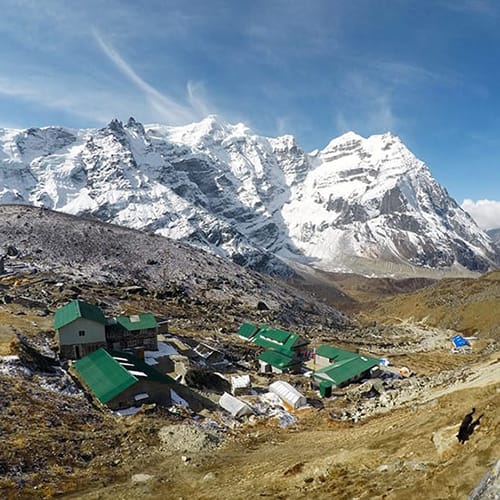
Signs for a German Bakery located ahead in Khare made the trek a little easier and provided some extra motivation. It’s a fairly easy start with a gentle incline along the river. We had a tea break halfway there at one lone house in the middle of nowhere. After the tea break, there is a mildly steep incline the rest of the way to Khare. Altitude made it harder to breathe at this point, so the difficulty had more to do with altitude than the actual trail being challenging. At the end, there is a German Bakery and the apple strudel was worth the trek.
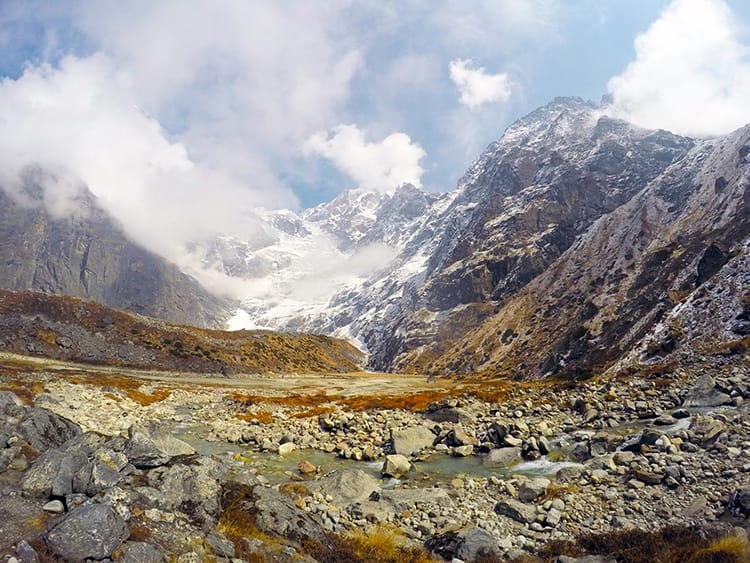
Day 9 – Rest Day in Khare
Time Trekking: Acclimation Hike
Khare Altitude: 5,045 meters (16,551 feet)
Oxygen Concentration: 55%
Meters Walked Uphill: 250
There’s a nearby hill which can easily be accessed from the village. Although it’s only a couple hundred meters higher than Khare, it’s still a good acclimation hike. Most people stop at the prayer flags, but I’d urge you to go to the top. The hike only takes an hour, and although it’s steep, it has incredible views from the top facing the opposite direction of the village. I’d recommend going right after breakfast as it got cloudy on the way back and a nice warm walk turned into freezing cold weather on the way down.
A lot of other groups had training for mountaineering on this day. My guide felt it was unnecessary because I was the only one in my group, and he could teach me as we went along. In larger groups, when you’re roped together, you can’t always see the guide, so knowing commands ahead of time is important for communication.
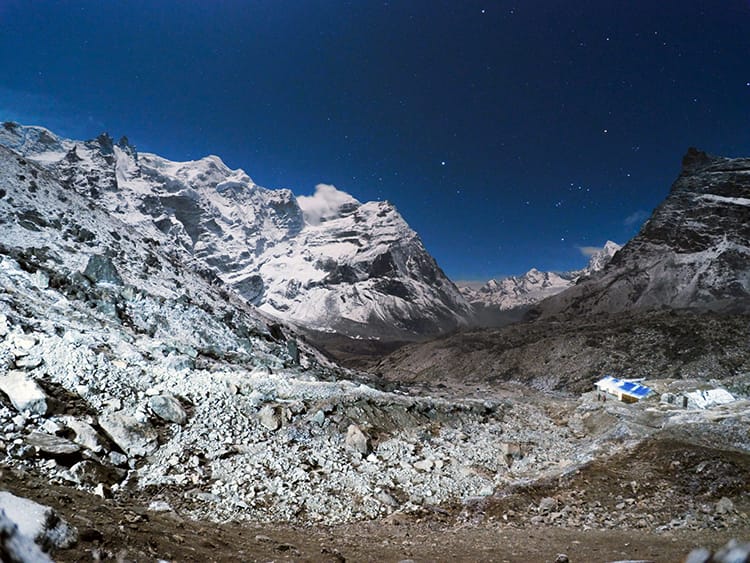
Extra Day Option
Possibly add a day at old Base Camp for acclimation.
Day 10 – Khare to High Camp
Time Trekking: 6-8 hours
Khare Altitude: 5,045 meters (16,551 feet)
High Camp Altitude: 5,780 meters (18,963 feet)
Oxygen Concentration: 50%
Meters Walked Uphill: 800m
This is the first day that you get to use your mountaineering equipment. If you haven’t used it before, it’s going to feel extremely odd. The shoes were very bulky to me, and I wished we’d practiced the day before. Although, I looked at the other groups who had practiced, and they weren’t doing much better.
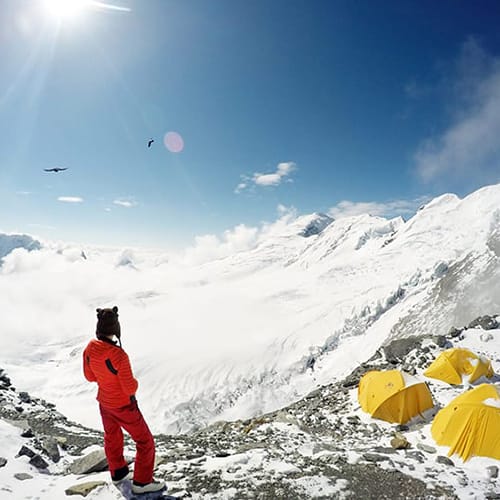
The trek starts with a hike to Base Camp. There are two Base Camps for Mera (an old and a new). The new one is pretty easy to access after trekking over rocks for a couple of hours. We did this in the snow which made it very slippery and difficult to navigate. I’d actually recommend staying at the old Base Camp for one night if you have time. It’s located at 5,350m. It seemed like the people who stayed at the new Base Camp had the same problem I did with the altitude. Those who spent a night at the old Base Camp had a higher summit rate.
My opinion of the trek to High Camp directly from Khare might be a bit skewed. We had a week of bad weather leading up to the hike, and a lot of people changed their schedules to accommodate for it. We blazed ahead with the original plan, hoping we’d get a window to summit. On the way, the weather changed from sunny to cloudy, which at this altitude meant walking through the clouds. Add in a snow storm, and I was trekking in a complete whiteout for 6 hours. I can’t explain how mentally draining this was, but not seeing how far you’ve come or how far you have left was extremely difficult. Again, if we’d spent a day at old Base Camp, we’d have been halfway there and the trek would not have been so draining.
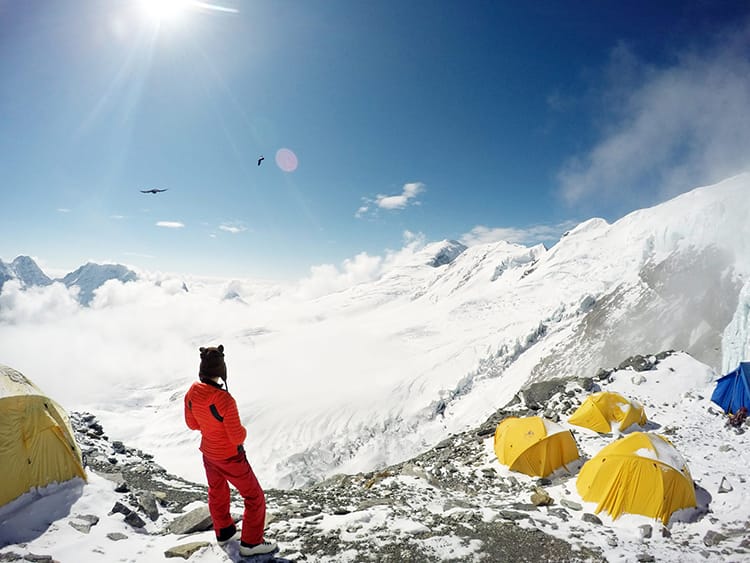
Day 11 – High Camp to Summit to Khare
Time Trekking: 10-12 hours
High Camp Altitude: 5,780 meters (18,963 feet)
Summit Altitude: 6,461 meters (21,197 feet)
Khare Altitude: 5,045 meters (16,551 feet)
Oxygen Concentration: 46% at summit
Unfortunately, I can’t shed much light on summit day. I woke up with a headache, and took some Diamox, but it was too late. We woke up at 2am to summit and kept pushing the time back an hour. By daylight my headache had gone from bad to worse. I felt as though someone had bashed a baseball bat into my skull. I could barely stand up without toppling over. My guide gave me the option to stay another night at High Camp to acclimate and try the next morning. After sitting there for five minutes, I knew there was no way I’d make it 24 hours.
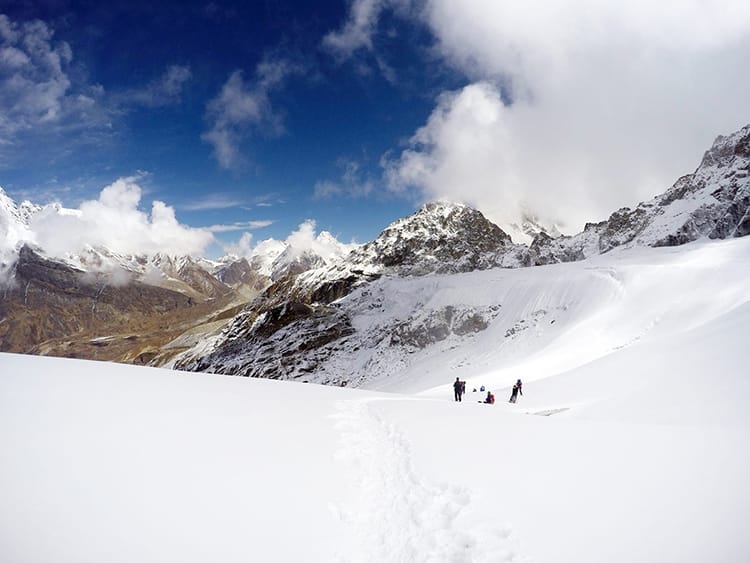
The walk from High Camp back to Khare was beautiful. We were hit with a brutal snow storm during the night (which was probably just a regular snow storm for this altitude). We basically skied down the mountain in our boots. The fresh powder made it easy to slide down with little effort. The views that I hadn’t seen the day before were spectacular and the sky was crystal clear.
Day 12 – Khare to Khote
Time Trekking: 4-5 hours
Khare Altitude: 5,045 meters (16,551 feet)
Kothe Altitude: 3,580 meters (11,745 feet)
Oxygen Concentration: 60%
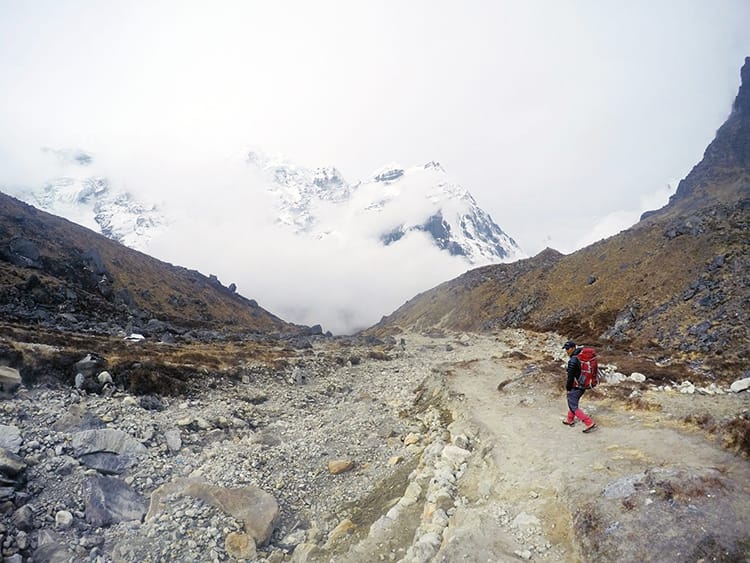
The walk from Khare to Kothe is a nice slow easy downhill. The walk isn’t so bad, and it’s not too hard on your knees like other areas. Again, we got hit with bad weather. This time, a rain storm, which made the rocks along the river slippery to walk over. Our pace was a lot slower than usual, and the rain made an easy walk a little more difficult. In nice weather, I’d imagine this is a great day for a relaxing downhill trek.
Day 13 – Kothe to Thuli Kharka
Time Trekking: 5-6 hours
Kothe Altitude: 3,580 meters (11,745 feet)
Thuli Kharka Altitude: 4,300 meters (14,107 feet)
Oxygen Concentration: 60%
The trek starts with a steep uphill which reminded me of the first few days of trekking. Since I took the longer route for this trip, I actually felt mentally and physically prepared for this section. Other groups, who took a shorter route, seemed to struggle. We had an extremely early lunch at 10:30am which appeared to be the only teahouse along the way.
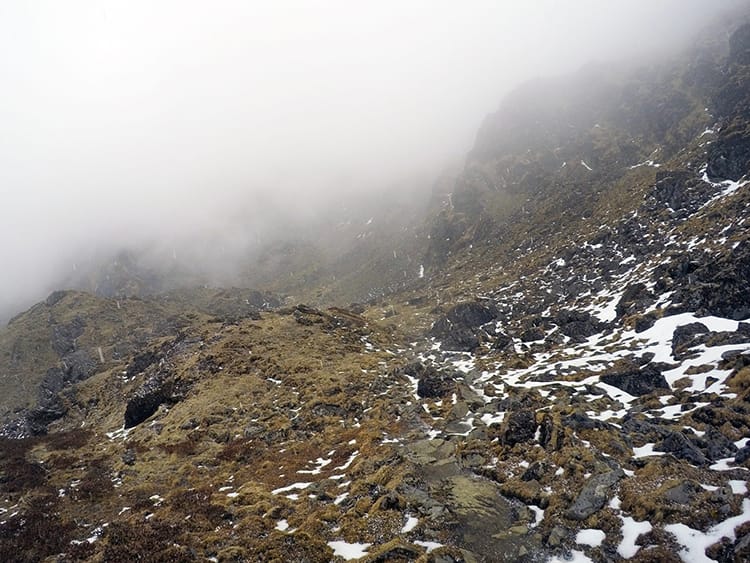
The day got a little more difficult later on. You’ll walk over a lot of uneven rocks, and it began to hail when we hit this section. The hail turned to snow and the snow turned to rain. The rocks slowly got covered in ice making a few sections hard to navigate. Otherwise, the walk was beautiful, serene, and not too difficult considering we were going uphill most of the way.
Day 14 – Thuli Kharka to Lukla
Time Trekking: 6-7 hours
Thuli Kharka Altitude: 4,300 meters (14,107 feet)
Lukla Altitude: 2,840 meters (9,317 feet)
Oxygen Concentration: 72%
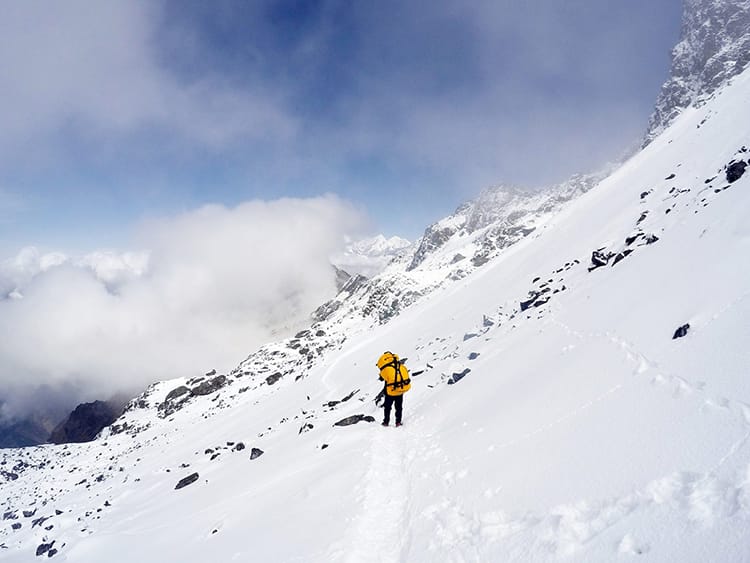
Considering how it was the last day of the trek, I thought it would be easy. Day 14 was one of the most difficult (only behind High Camp and summit day). Since we received several inches of snow the night prior, the path over the Zatwra La Pass was covered. The other groups geared up with mountaineering equipment. Most had on mountaineering boots with crampons. Some wore hiking boots with a slip on crampon. A few were even roped to their guides in case they slipped.
My guide was helicopter rescued two days prior after getting the flu, and my porter took over the duties while carrying my 100L duffle bag. I felt a bit underprepared and unconfident as all I had with me were hiking sneakers. My amazing porter gave me one of his slip on crampons which I’m going to invest in next time. It took me twice as long as everyone else to descend and my mental state was a mess. I slipped a few times and the drop was enough to kill you if you didn’t catch your footing. Make sure to have the right footwear for this section just in case of the snow. You may not need it, but if you do, you’ll be so happy you were prepared.
We had lunch once we got over the pass, and then it was a long but easy trek back to Lukla. The second half of the day was spent in the jungle full of rhododendron trees that were fully bloomed. It reminded me of the first few days minus the steep stairs. Make sure to wear layers this day since you go from over 4,500m down to 3,000m and the climate change is pretty extreme.
Day 15 – fly back to Kathmandu
You might also like…
Michelle Della Giovanna
Writer at Full Time Explorer
I’m just your average New Yorker who quit her job in the fashion industry to explore the world. Come find out what it’s like to trade in five-inch heels for squat toilets.
Hey FulltimeExplorer!
Love the handle.
Excellent blog, shame you got hit by AMS on the last day though. Am attempting a very similar route in May, fingers crossed!
What were the dates you trekked on? I shall be planning to trek from May 10 or so, and am wondering if i’ll be hit by bad weather like yourself
I believe we reached high camp around May 5th. I actually went at the best possible time to summit and still got hit with bad weather. It’s hard to plan in the mountains hahaha I was told it was very unusual weather for that time of the year as May is usually the best time to trek in the Khumbu region. A week before I went almost everyone who tried summited and the week I went maybe 30% made it. Best of luck on your journey! I hope you make it to the top!
Hey fulltimeexplorer!
I’m glad to report back with good news! We did manage to summit on May 20th. Thanks for all the info on your blog: we stayed the extra night at Thagnag as you recommended, and I do believe it helped. I’m currently blogging about the trip, I shall link you.
Thanks again!
That’s so great to hear! Congrats on summiting!! I’m glad you took the extra time to acclimate and that it worked! Yay
Some questions:
Did you only rented a guide and a porter for the trip from Lukla to Khare and back? How did you arrange the climb between Khare and the Merapeak? Or was it a fullboard service from lukla to Lukla?
Entry permits for the Makalu Barun NP can you buy them in Lukla?
sorry a lot of questions. But we gone do this trip in April.
greetings
Francky
Hi Francky!
I did a pre booked trip with a tour company (Swotah Travel and Adventure https://www.swotahtravel.com/ ). I had a guide from Lukla to Lukla which I highly recommend. The pass can be really difficult if there is bad weather (we reached the pass after a bad snow storm in April). Depending on the itinerary you choose, the pass is in the first or last couple of days. Swotah arranged the permits for me in advance in Kathmandu. That can be done at the Nepal Tourism Board office. My tour company arranged them for me. I believe you need the guides information to get the permit or they won’t issue you one.
Hope this helps and feel free to ask any other questions! The trek is amazing!
Best,
Michelle
Is it possible to do the trek in January. I am planning to trek without the guide and hire guide at Khare
Hi Deepak! I wouldn’t recommend January because planning will be difficult. If it does snow and the government closes peaks then your trip may be canceled halfway through or at the last minute. There is also a high pass at the beginning and end of the trip (depending which way you go) that is really difficult to navigate in the snow. It would be much better to do it in peak season where you have the best shot of summiting.
Thank you so much, would it be feasible to do EBC late January. I will avoid the 3 pass route. I to some time off late January early Feb. This way I will avoid the crowd. I would be carrying my own pack.
I think you’d have a much better shot of completing EBC in January than Mera. I would pack crampons and really warm clothes though in case of snow. It’s sure to be super cold! I would also have a backup plan just in case weather is bad and your flight is canceled. And I’d try to contact at least one hotel in the everest region and ask if teahouses will be open. Usually they are but with reduced tourists it would be good to check in advance ?
Thank you again for your valuable advise. I have been following your blog and website for a while. I am fellow New Jerseyans. Admire your courage to chase your dreams, been thinking about the same for 30 years.
Awe thank you for following along! If you have any other questions, don’t hesitate to ask ? and I wish you a wonderful trek (and good weather) for January!