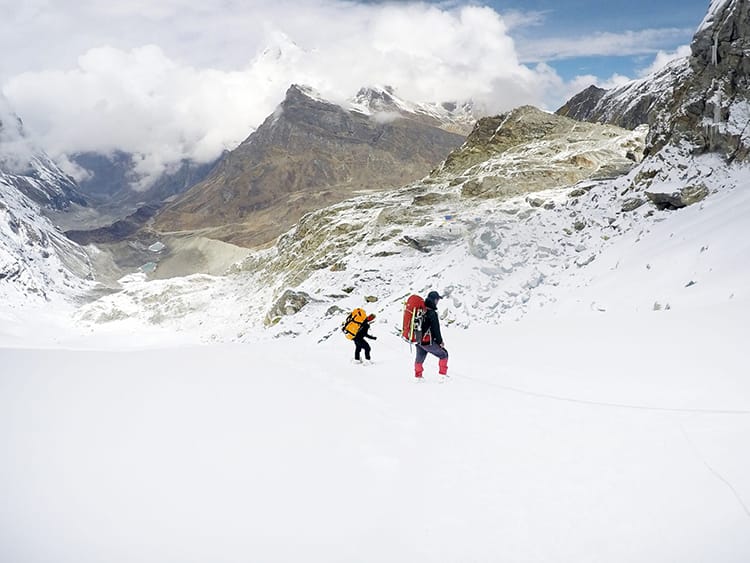
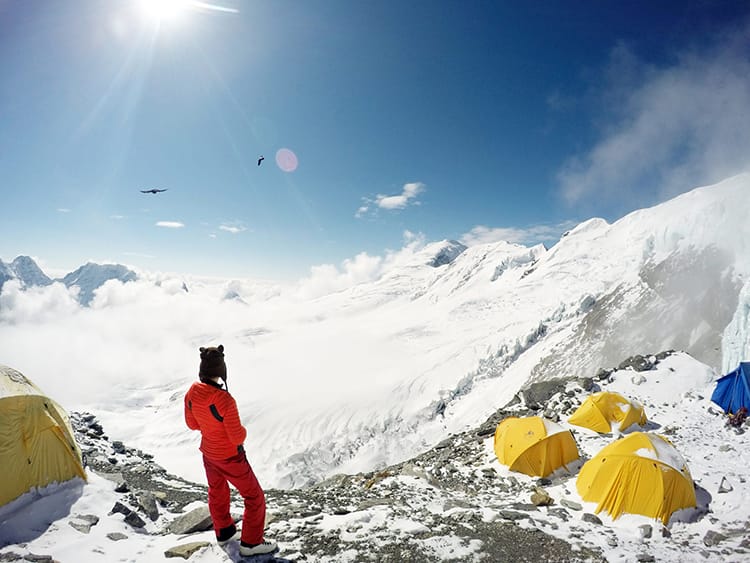
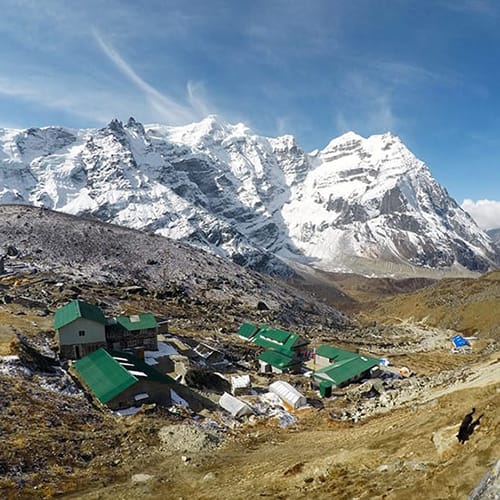
Mera Peak is considered the highest trekking peak in the world. While it’s called a “trekking peak,” it does require some mountaineering skills and equipment. Luckily, it’s the kind of peak where you can learn as you go, making it perfect for beginners looking to try their hand at something a little more difficult than a trek. When I first looked for information on Mera Peak, I quickly realized that there isn’t a whole lot of information online. After doing hours of research and searching the depths of the web, I came up with a packing list. I actually felt like I had everything I needed with me and didn’t overpack. Here’s what I brought…
Note: I was a huge fan of Eddie Bauer products. Sadly, they closed down their mountaineering/hiking line. Below is a list of all the items I packed and what I really liked about them, so you can decide what to bring with you. I’ve added similar items to my Amazon gear list if you’re not sure what to buy.
Mera Peak Backpack & Storage
Pro Tip: Take everything you want to pack out one week in advance. Lay it all out somewhere easy to see. Each day before the trek, go over what you packed and see if you really need it. If you pack at the last minute, you’ll likely add impulse items that are heavy and unnecessary.
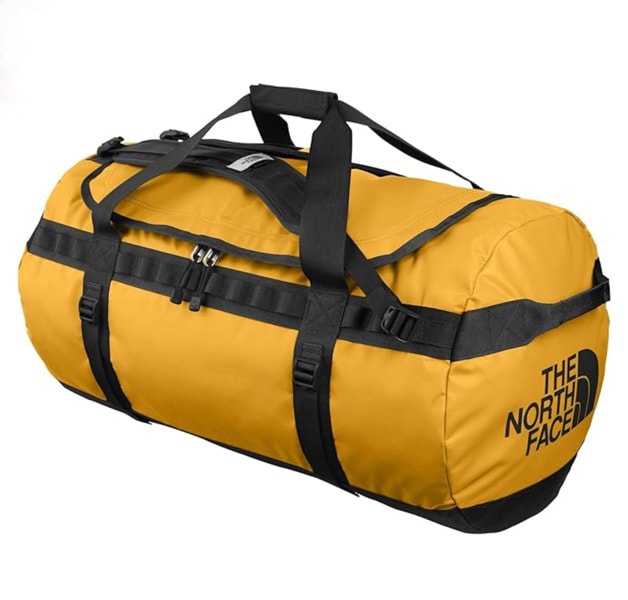
65L – 100L Waterproof Duffel Bag
I purchased a 100L (knockoff) North Face waterproof dry bag in Kathmandu for $20. Honestly, I only needed a 65L since I rented all of my mountaineering equipment in Khare right before heading to high camp. If you are planning to carry your own equipment, then it might be best to get the 100L bag. While it’s easy to get a knock-off in Kathmandu, if you want a good quality duffle bag, you should purchase it in advance.
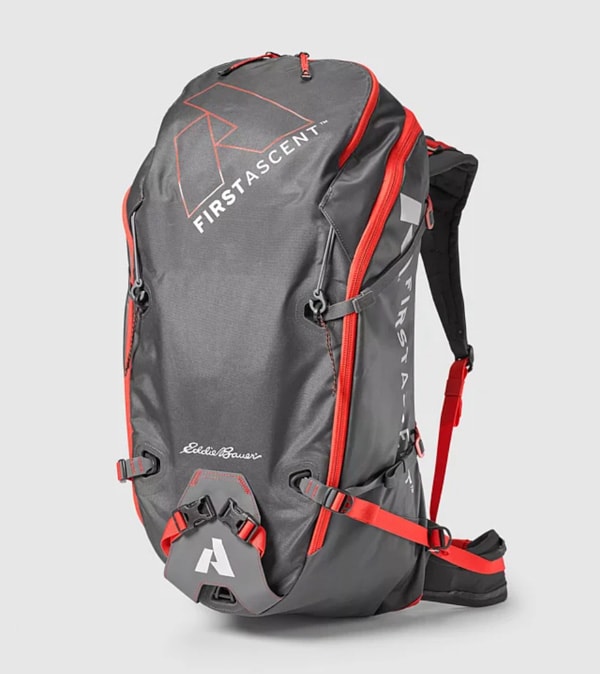
40L Backpack
I have the 40L Alchemist Bag from Eddie Bauer. It’s water resistant, has a tough outer shell that doesn’t rip easily, and is big enough to hold everything I need for a 4-12 day trek. Since you will have most of your stuff in the larger duffle bag, you don’t need your bag to be too large.
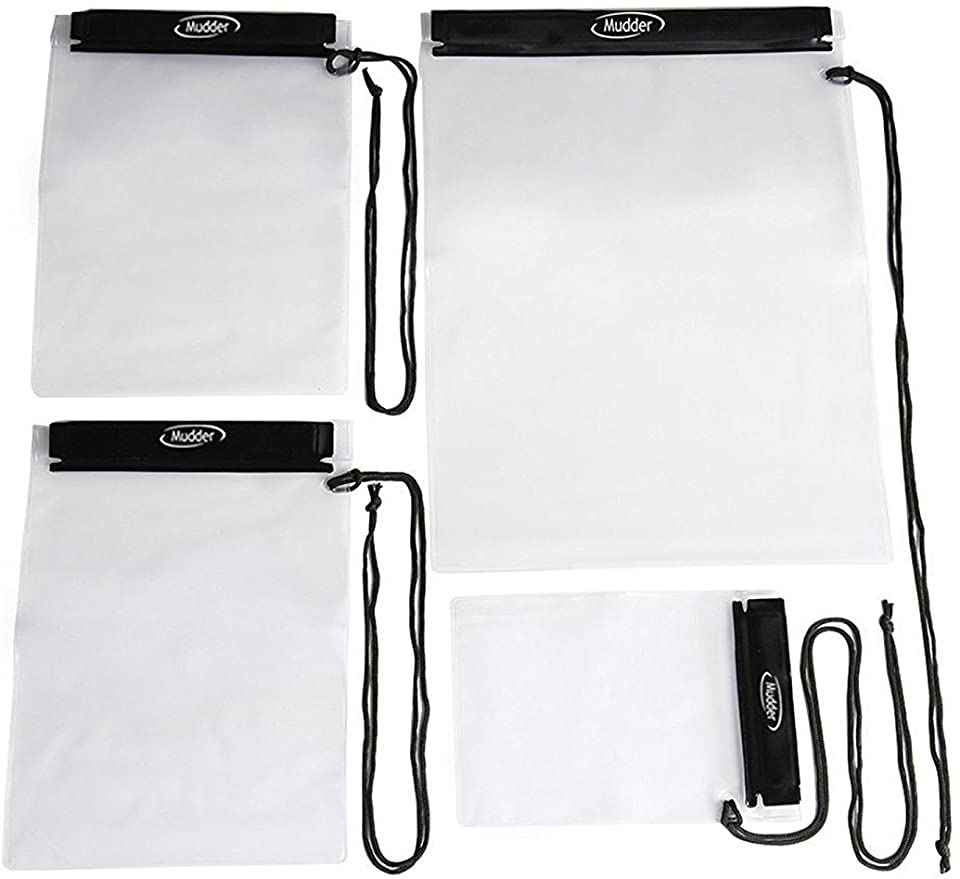
Mudder Waterproof Bags
Even though my bag is water resistant, it will get wet in a downpour, so I always have waterproof bags to store electronics and important documents like my insurance papers and wallet.
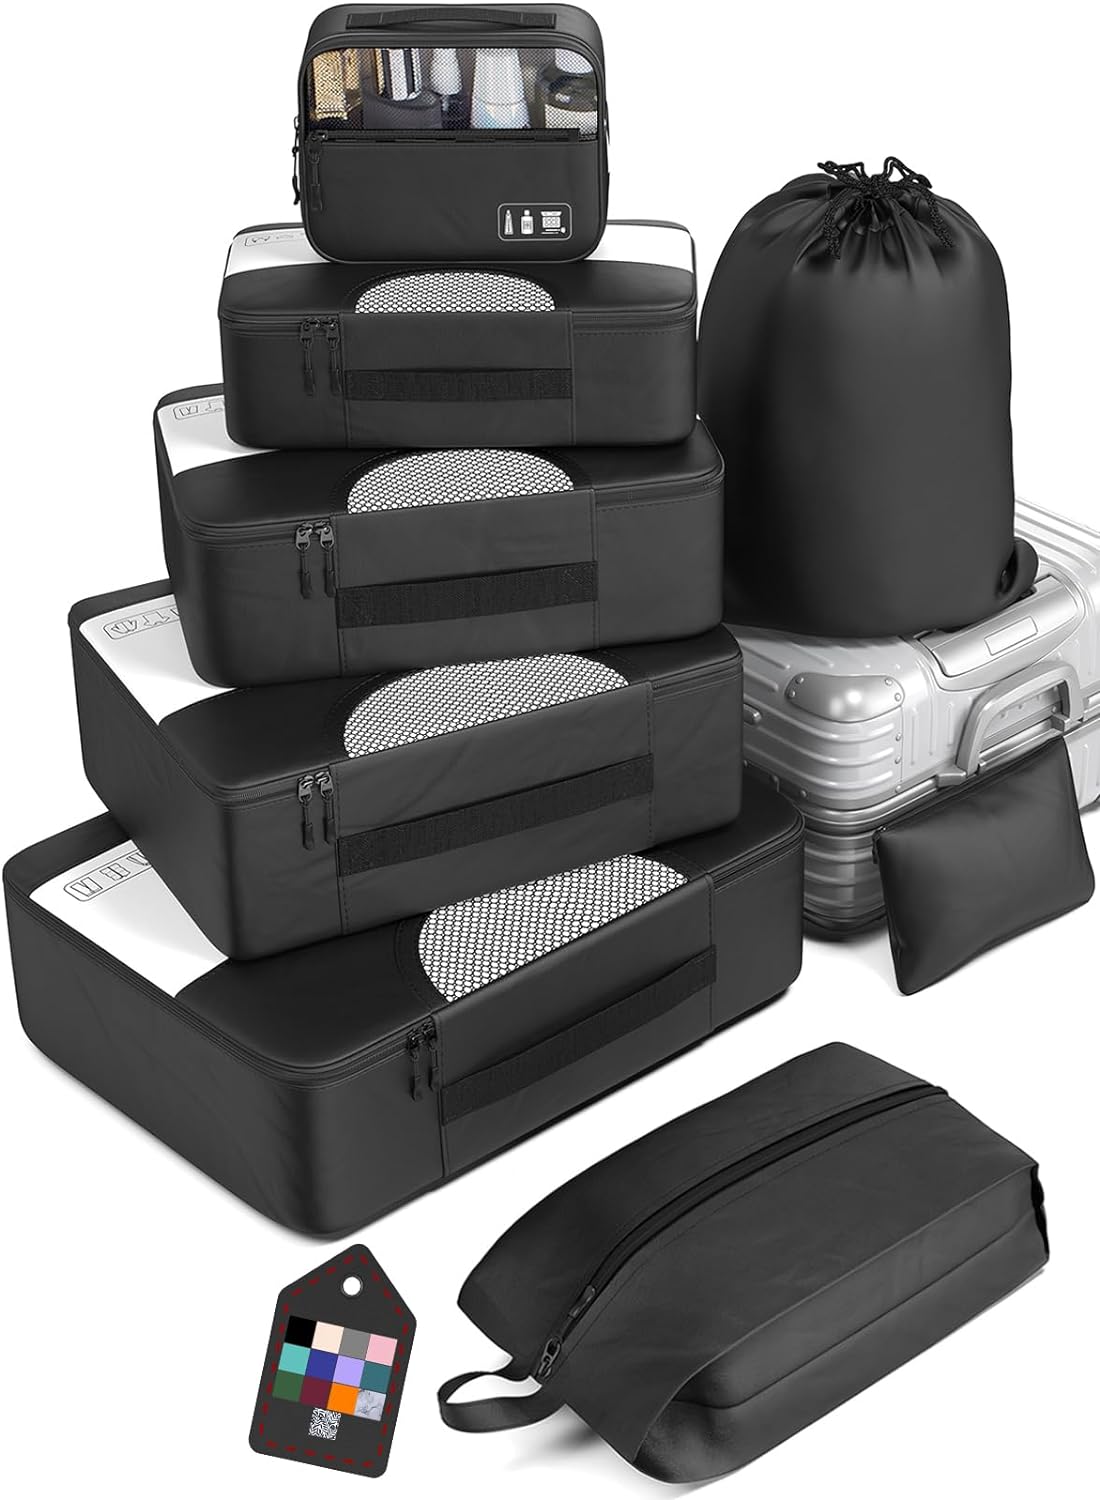
Packing Cubes
I love packing cubes. If you have a 100L duffel bag, everything will get lost in it. I have these cubes and use each one for something different. One for snacks, medicine, socks/underwear, clothing, etc. It makes packing and unpacking every single day a little bit less annoying.
2 One Liter Water Bottles
I chose plastic water bottles because I read that the metal ones freeze easily as do camel backs. I was happy with the plastic but I had to sleep with them three nights of the trek to make sure they didn’t freeze.
At altitude, you’ll likely want to purchase boiled water as it’s too cold to drink cold water. If you want to bring your own thermos, I’d recommend this one.
Backpack Rain Cover
This is a must if your backpack isn’t waterproof. Many backpacks are water resistant but won’t stay dry in a downpour.
Plastic Bag for Laundry
I bring a simple grocery store plastic bag for laundry to keep it separate from my other clothes. I only put dirty underwear in it as the larger items like pants and shirts will be worn more than once. A plastic bag adds no weight and doesn’t take up any room.
Ziplock Bags
Never underestimate the ziplock bag. These come in handy more often than you would think.
Mera Peak Clothing
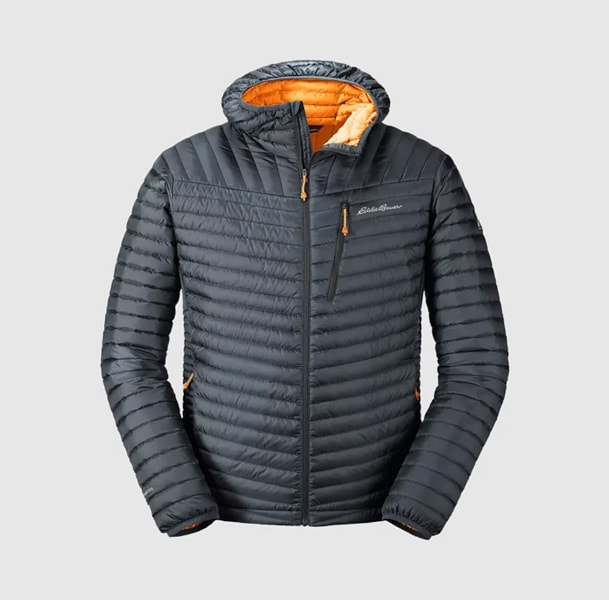
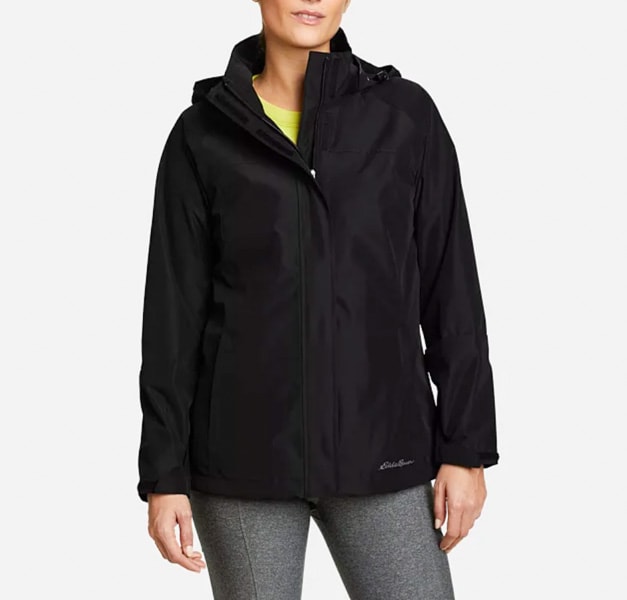
Down Coat
Last time I went trekking, everyone seemed to have super thin down jackets, and they were all warmer than me. This year, I invested in an Eddie Bauer MicroTherm StormDown Hooded Jacket. This is honestly one of the best things I’ve ever purchased. It’s super lightweight and can fold into its own pocket. Best of all, if you layer correctly, it’s insanely warm. With my thermal top, long sleeve shirt, MicroChill fleece, and this coat, I was comfortable up to 5000m in snow and 10-20F degree weather.
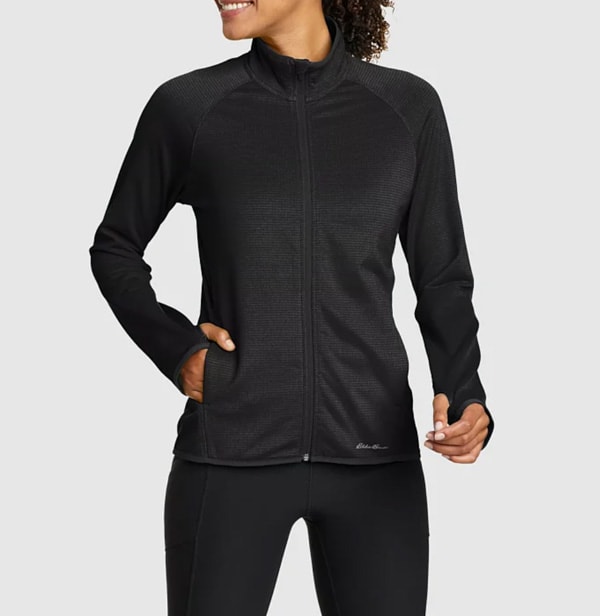
Fleece Jacket
Last time I did a trek, I wore my fleece jacket every single day and slept in it, so I invested in a really good fleece jacket this time around. It’s insanely warm and worth the extra money.
Raincoat
Layering is super important when you get above a certain altitude. You want a rain coat that is waterproof and windproof. I got mine a little big so it would fit over my lightweight down. We got hit with rain and hail a few days, so it was definitely useful.
Expedition Coat
While my Eddie Bauer Down Jacket was amazing, it wasn’t expedition weight. I rented an expedition coat from Refuge in Khare. It was included in my trekking package so I’m not sure how much it cost to rent. The only time I needed the expedition coat was above Khare (5000m). I used it for two days and returned it on the way back down.
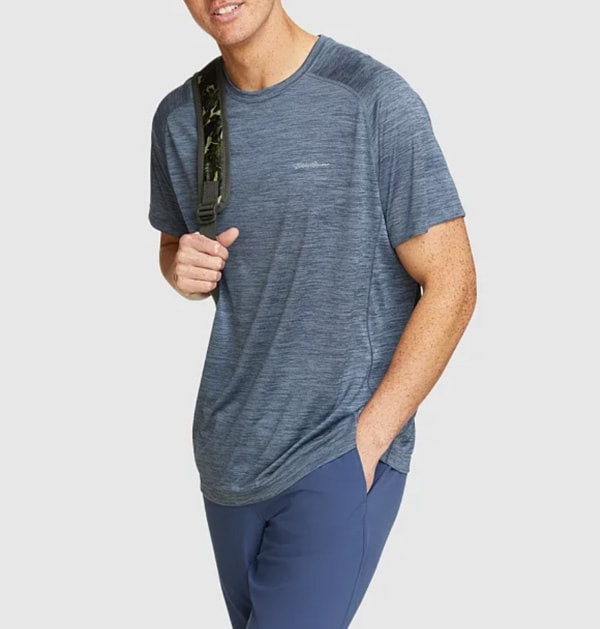
Quick Dry T-Shirts (2)
Two t-shirts are important because if one gets sweaty or wet, it might not dry by the next morning. So, you can rotate wearing these. I usually wear one during the day and then switch into the other when we arrive at the teahouse so that my shirt isn’t wet and I don’t get a chill.
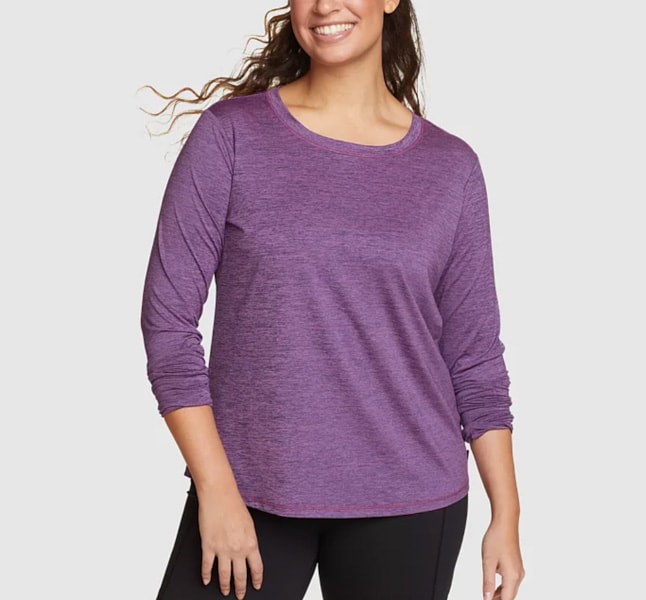
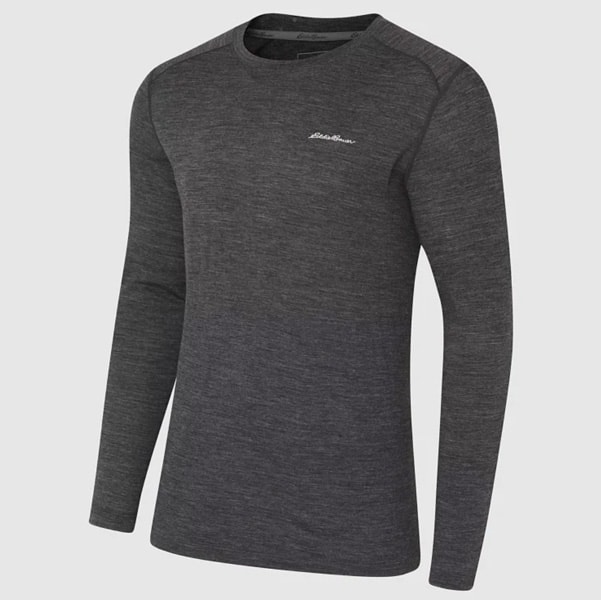
Quick Dry Long Sleeve Shirt
I carried one long sleeve quick dry shirt with me as well. I used this when we were above 4,000m.
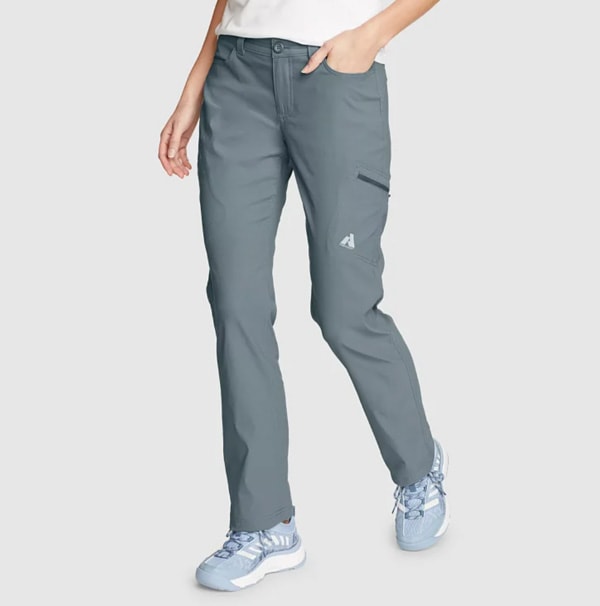
Lightweight Trekking Pants (2)
I love the pants I have from Eddie Bauer because they are light and have UV protection, so you don’t get too hot wearing them. Lightweight quick dry trekking trousers are great for lower altitudes when the weather is warmer. I bring two pairs so that I can rotate them.
Workout Leggings
Leggings were perfect for the hot weather we had around 3000m. I could layer some lightweight hiking trousers over them in the morning and remove them in the afternoon when the sun was out.
Waterproof/Windproof Pants
Waterproof/windproof pants are essential for this trek. We hit several days of snow and rain above 4000m making it incredibly cold. These pants were also a life saver at night when the teahouses were cold and the sun had set. I could layer them over my thermals while having dinner or reading my book. I bought these in Kathmandu for $10.
Expedition Pants
Expedition weight pants are necessary on the way to High Camp and the summit. I rented these in Khare on the way to High Camp. They cost $15 for two days. I wore them over my thermals to ensure that I was warm. If it was sunny, they might be a little warm but we were hit with clouds and snow which made them perfect.
Thermal Base Layer
A thermal top and bottom are crucial for this trek. The teahouses get cold at night, so I highly recommend these. I wore these above 5,000 m and slept in them a few nights as well.
Long Sleeve Sleep T-Shirt & Leggings
I like having a separate clean outfit to sleep in each night. I personally like an oversized long sleeve cotton t-shirt that I bring from home and leggings. At high altitude (over 5000m), I wore my thermals to sleep.
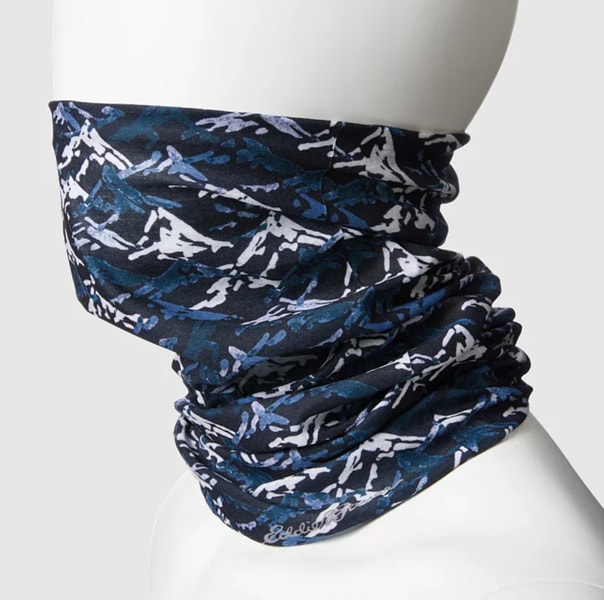
Buff / Scarf
Buffs are a great alternative to scarves because they take up very little room and keep you warm. You can also use it as a mask for protection from dust. I like this one because it is thin enough to breathe through and keep you warm at the same time. I wouldn’t recommend a fleece one as they are too hard to breathe through.
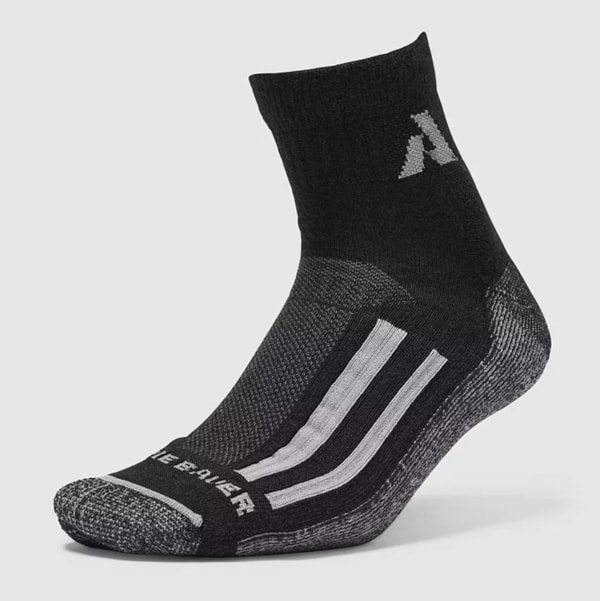
Short Hiking Socks (3)
I had three ankle socks with me. I kept one pair of ankle socks to wear at night that way I didn’t have smelly wet socks on when I went to sleep. If your socks get smelly, you can hand wash them during the day and dry them by the fires in the teahouses at night.
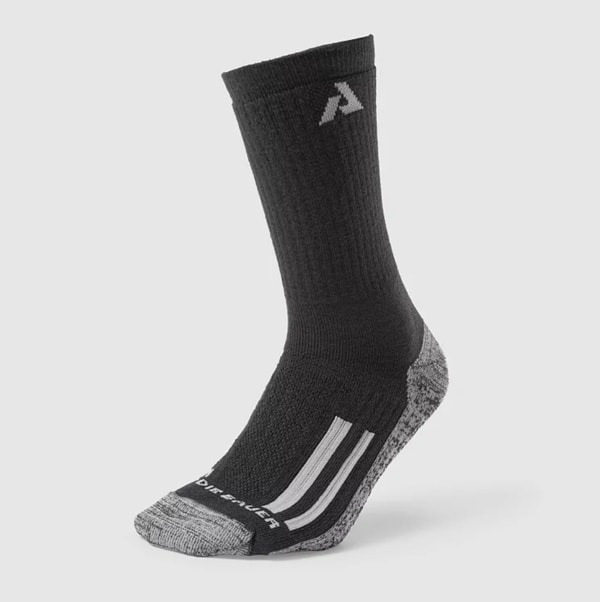
Long Hiking Socks (3)
I had three long hiking socks with me. One I used for sleeping in at high altitude and the other two I rotated wearing above 4,000 m.
Silk Liner Socks
I bought a pair of liner socks in Kathmandu for $13, but they were really hard to find. I recommend buying them in advance. You only need these for the days you will be wearing your mountaineering boots. I layered them under my socks for extra warmth and my toes never got cold.
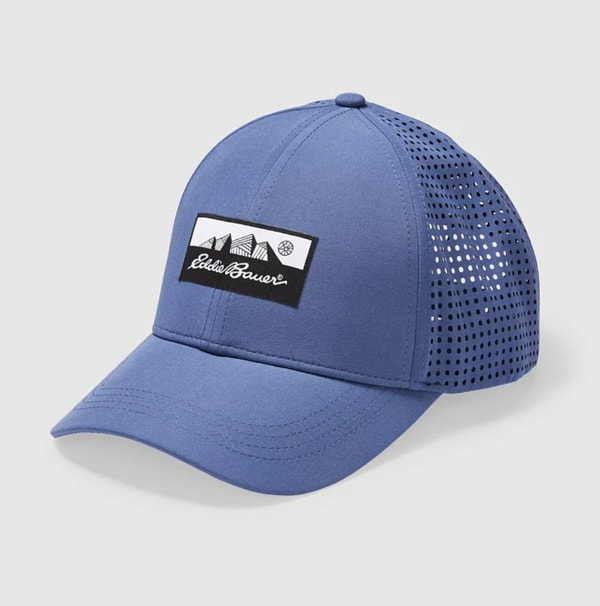
Summer Hat
A summer hat is a must. I recommend something made with quick dry material as it will get sweaty. You can also find hats with UV protection which is great.
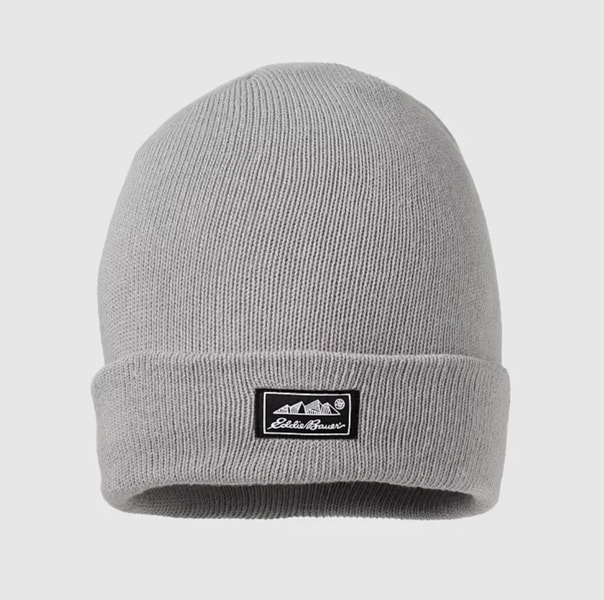
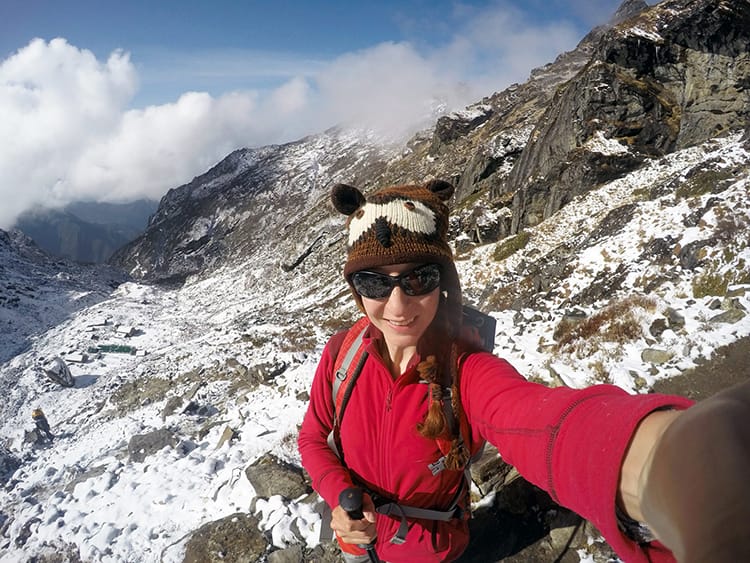
Winter Hat
I bought a funky owl yak wool winter hat in Kathmandu for $5. You can get a plain one for $3. Just make sure you get one that is super warm. My hat actually became a topic of conversation on the way up, and people were sad it didn’t make it to the summit. If you want. to buy a normal hat in advanced, this is what I’ve worn on my other treks.
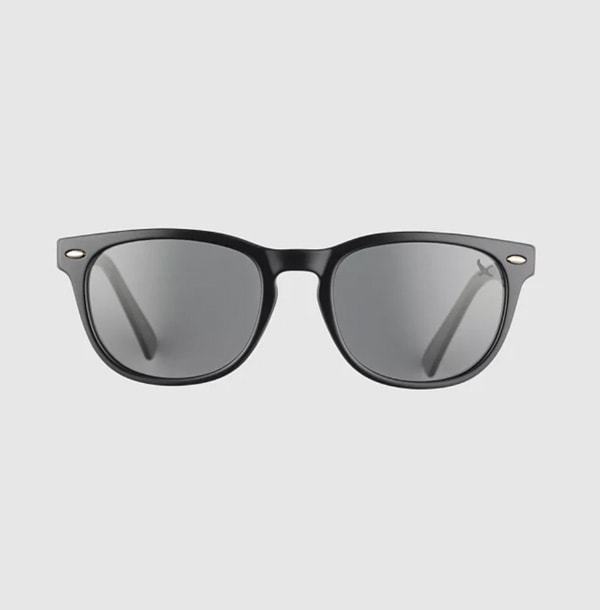
Sunglasses
Polarized sunglasses are necessary for daily wear. Parts of this trek have no cover from trees. On a sunny day, you are completely exposed to the elements. There are also sections with snow, and at altitude, it can be blinding because the sun is so strong, so polarized lens’ are important.
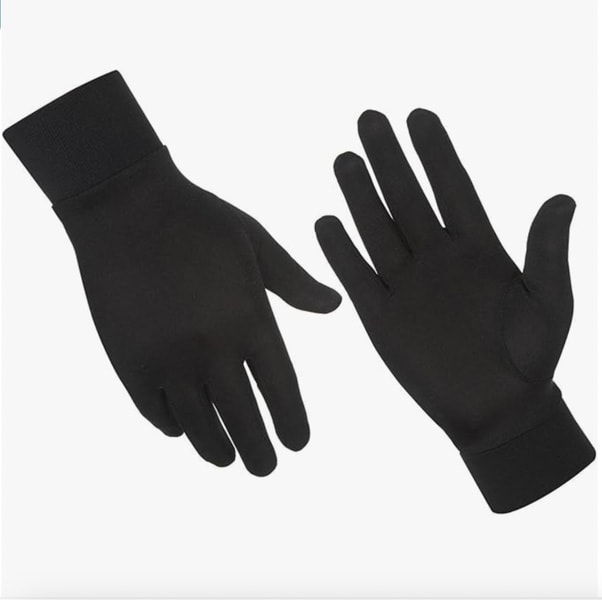
Gloves
Glove liners were one of the best things I bought. They were warm enough to wear a lot of days without being bulky or too hot. I got mine in Kathmandu for $5. You can also wear these under your expedition mittens on summit day. If you want to buy them in advance, here is a pair of silk liners from Amazon…
Waterproof/Windproof Fleece Lined Gloves
These gloves were good for days when it snowed and going to high camp. Make sure to get waterproof gloves so your hands don’t get wet.
Expedition Mittens
I rented these in Khare on the way to High Camp. They were included in my trekking package, so I’m not sure how much they cost. I didn’t use these because I didn’t get the chance to summit due to altitude sickness, but several people on the way down said, “Make sure to get the mittens!”
Underwear (16)
I hate doing laundry when I trek, so I pack a pair for each day. Doing laundry isn’t so difficult, but if they don’t dry by the time you leave in the morning, you have to hang them on the outside of your bag which isn’t ideal. Our itinerary was for 15 days so I packed 16 pairs of underwear just in case we got stuck somewhere an extra night.
Sports Bras (3)
I have two bras to wear during the day, and one to change into once we arrive so that I’m not wearing a sweaty one as it gets cold at night.
Shoes for Mera Peak
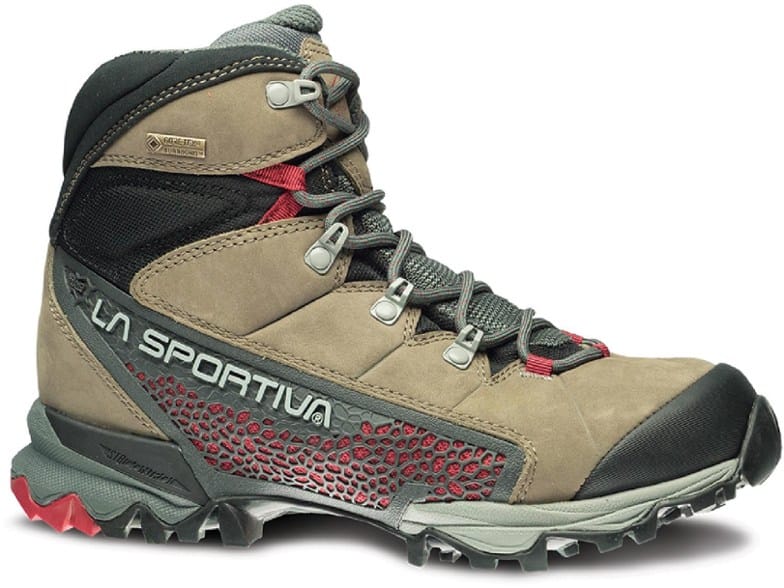
Hiking Boots
I am obsessed with my La Sportiva boots. As someone who hikes a lot, I invested in these as they will last years. They have great ankle support and good traction. Any hiking boots you get should be treated with Nikwax once a year to ensure they are waterproofed. These shoes have already been with me on several high altitude treks and they are holding up great! Note: When I did this trek, I had regular hiking sneakers and it was extremely difficult. I bought the La Sportiva’s almost immediately after this trek.
Mountain Climbing Boots
Mountain climbing boots were part of my trekking package so we rented them in Khare. A lot of people had their own which was definitely helpful. On the way back to Lukla, we crossed over the Zatwra La Pass (4600m) after a snow storm. All the other groups had on their boots and crampons while I had on trekking sneakers. Having the right shoes for this section would have made it a lot less scary.
Mountaineering Crampons
Again, I rented these at Khare, however on the way back to Lukla, we hit some major snow and I had no traction on my shoes. The porter who carried my bag was kind enough to give me one of his crampons that slip over your shoes. I’d recommend a pair for areas that get hit with snow if you aren’t carrying your own climbing gear. I was terrified of slipping over the edge of a cliff and even having one crampon helped a lot. I actually bought these small crampons for later treks and they are a life saver (literally.)
Flip Flops / Lightweight Sandals
These are good for running to the bathroom at night as well as showers if you want to pay for one. In Khote, you can get a hot shower for $3.50. Mostly, it’s just nice to kick off your boots when you arrive anywhere.
Slippers
You can buy yak wool slippers in Kathmandu for $2. They’re great for wearing around the tea houses at night when you don’t want your boots on anymore.
Sleeping Equipment for Mera Peak
-20 Sleeping Bag
I rented my -20 sleeping bag in Kathmandu. I paid 60 rupees a day, which ended up costing $12. It would have cost less, but I got stuck at the airport for 3 days without a flight.
Eye Mask & Ear Plugs
Tea houses have very thin walls and some don’t have curtains for the windows. Chances are, people will be noisy and sunlight will wake you before you’re ready to get up.
Snacks for Mera Peak
Peanut Butter
My trekking package included all meals, so peanut butter wasn’t necessary. If your package doesn’t include meals, tea houses charge extra for things like honey, peanut butter, and jam. Bringing your own will save money, and it’s a good way to get protein.
Beef Jerky
Meat is pretty limited along the trail. You’ll see it on menus, but I didn’t want to risk eating it in case it wasn’t fresh. A big bag of beef jerky made my days so much better.
Kind Pressed Bars
Vegetables and fruit don’t grow above a certain altitude, so the diet in tea houses is very carb heavy. The one thing I missed most on my last trek was vegetables. These bars were great for adding a serving of fruit and veggies to my diet.
Tea Bags
Again, depending on your trekking package, tea may or may not be included. Tea in Kathmandu is around .50 a cup. As you get toward the top of the mountain it can be $3 a cup. In Khare, I was freezing and couldn’t drink enough cold water to stay hydrated, so I drank a ton of tea. If you’re on a budget, bring tea with you and order hot water which is half the price.
First Aid
Diarrhea Medicine
Nepal is notorious for bacterial infections that cause diarrhea. Trekking routes are even worse. Most people who come to Nepal experience diarrhea at least once.
Activated Charcoal
Activated charcoal is great for treating food poisoning. I always bring about 10 tablets with me. Talk to a doctor before you take this as it is strong enough to cancel out some prescription medications.
Electrolyte Tablets
Since diarrhea is so common, it’s best to have some electrolyte tablets on hand or a powder to put into your water for quick rehydration.
Ankle / Knee Support
I have a bad knee and ankle so I used a brace for the downhill sections. This makes my life exponentially easier and helps manage the pain.
Neosporin, Bandaids & Medical Tape
You never know when you’ll get a cut or a blister. You may also want to grab some mole skin or second skin for comfort. I also carry medical tape or an Ace Bandage just in case I twist an ankle or need extra support.
Water Purification Tablets
Aquatabs can be bought online or in Kathmandu for about the same price. Put one tab into a liter of water, wait a half hour, and it’s drinkable. This helps save plastic and avoid unwanted garbage and also saves you big money. One bottle of water at altitude will cost about $4.
Vitamins
I bring a few tabs of vitamin C, B, olive leaf, zinc and echinacea for immune support so that I don’t get sick. I also bring electrolyte powder in case someone gets dehydrated.
Prescription Drugs
There are almost no pharmacies in the mountains, so be sure to have all prescription drugs with you when you head out.
Antibiotics
A high grade antibiotic is a must when trekking. You can pick some up at any pharmacy in Nepal without a prescription, but bringing one from home is best as far as quality. Make sure to ask your doctor when and how to use it.
Cold Medicine
It’s pretty cold above 4000m, so I’d recommend having cold medicine with you just in case you get sick.
Pain Killers
If you’re trekking, you’re bound to be sore at some point. Most people bring some kind of Advil with them. The only time I used a pain killer was at high camp when I got altitude sickness. My head was pounding so badly that I couldn’t move. I took a pain killer and was able to quickly descend in altitude instead of getting evacuated.
Diamox
I’ve done over 10 treks in Nepal and have only taken Diamox once. If you don’t plan to take Diamox, bring some with you for emergencies. If you are considering taking it, talk to a doctor to make sure it’s right for you. There are side effects and you need to drink a ton of water when taking it.
Throat Lozenges
Throat lozenges are a life saver, especially if it’s cold when you go trekking. Teahouse walls are super thin, so waking up and coughing means you wake up the whole teahouse. They’re also great during the day if the air gets cold. These are more important in colder high altitude areas, but are also handy if you get sick and have a sore throat.
Oximeter
Some guides carry an oximeter so that you can monitor your heart rate and oxygen levels. It’s not a bad idea to carry one yourself if you’re curious to see how your body is handling the altitude.
Electronics
GoPro, Spare Batteries, Charger
While a lot of people carry large DSLR cameras, I prefer a small GoPro for trekking. I also carry spare batteries and the charger just in case.
Cellphone, Namaste SIM Card, and Phone Charger
You can purchase wifi on the trek. It tends to be $5 for 200MB or $10 for 1GB. That being said, it only lasts for 15 hours and only works in certain tea houses. Namaste SIM Cards get service at certain points on route and seems to be the SIM Card that the guides use.
Travel Adapter
You” likely need an adapter to charge things. This one is lightweight compared to chunkier options.
Garmin Forerunner Watch
Although I don’t have a Garmin watch, it’s moving up on my list of things to invest in. The cool thing is that this tracks your altitude gains and losses, distance, heart rate, etc. One of the guys doing the same trek had one, and I loved checking in every day to see what our progress was. Each year, I invest in a few items for trekking, so this will be one of my next big purchases.
Maps.me Downloaded
I always have a backup plan and Maps.me will tell you the trekking route while offline. That way if you ever get lost, you can have something to track with.
Headlamp & Extra Batteries
A lot of the tea houses run on solar power which runs out at night. In addition, the bathrooms tend to be outside, so you’ll need a light to find the way. Mostly, you’ll need this on summit day since you have to get up at 2:00am.
Kindle
I read four books on my Kindle while trekking. You have a lot of down time in the afternoons. Somehow, my battery actually lasted all 15 days without ever recharging it. Impressive.
Power Bank
I have a Goal Zero Power Bank which I love. It charged my phone a couple of times and my GoPro once. This thing is a life saver. On the way to Mera, charging your cellphone costs $5 while charging a power bank costs $10.
Movie / Music Downloads
Some trekkers arrive to the teahouses around 1-3pm each day. Having a few movies on your phone is good. If you like to listen to music as you go, make sure you have some good beats downloaded.
Solar Panel
On my last trek, I had to pay to charge electronics, so I invested in a solar panel. It’s not as lightweight as I’d like, but it works great. My only complaint is that I can’t charge my iPhone directly from the panel, so I have to charge my power bank and then charge my phone.
Toiletries
Biodegradable Wet Wipes
I loved these Dude Wipes in lieu of a shower most nights. They were also great instead of toilet paper at high camp since they are biodegradable.
Quick Dry Micro Fiber Towel
If you opt to take a shower, you’ll want a small microfiber towel to dry off. They don’t take up much room in your bag and will dry quickly once you are done.
Bug Repellent
I like Badger Bug Balm which is a natural bug repellent. It’s a solid stick, so it won’t spill in your bag and it works very well! I’ve gotten all of my family and friends hooked on this stuff because it’s so great.
Moisturizer & Sunscreen
I’d opt for a sport sunscreen of SPF 50. The sun is extremely strong at altitude, and it’s best to have a sweat proof option.
Tooth Care
Because dental hygiene is key. Make sure to sleep with your water bottle at high altitude so it doesn’t freeze at night, otherwise you won’t have water to brush your teeth in the morning.
Hand Sanitizer
Most of the tea houses don’t have running water, so hand sanitizer is your saving grace. Two travel sized bottles should be enough.
Deodorant
Pack a small travel sized deodorant.
Vaseline (Aquaphor)
Your lips and nose will thank you. Trust me, no matter how healthy you are, your nose will be running like crazy, and the wind and cold will dry it out.
Toilet Paper & Tissues
Pretty self explanatory, but toilet paper is not provided at tea houses. You will need to bring your own. I had four rolls for 15 days, and I still made it back with half a roll.
Feminine Hygiene
I usually recommend a Blossom Cup, but there’s really nowhere to clean it out. Therefore, I’d recommend pads and tampons for this trek. You may also need to bring a few large zip lock bags to carry used items back since you’ll probably use the great outdoors as your bathroom. Simply carry them in a sealed bag until you reach the next teahouse with a garbage.
Hairbrush, Shampoo, Conditioner & Soap
There are a few tea houses along the way where you can buy a hot shower. Make sure to have a travel size shampoo, conditioner, and soap. Trust me, it’ll make you feel human again.
Nail Clipper
Pretty self explanatory, but make sure to get the kind with the little thing that cleans under your nails. Without a place to wash your hands properly, you’ll get a lot of dirt under there.
Fabric Softener Sheets
I brought fabric softener sheets from home. I put them in with my clean clothes and laundry to make sure everything stayed smelling fresh over during the trek. They definitely made a difference.
Other Items Needed for Mera Peak
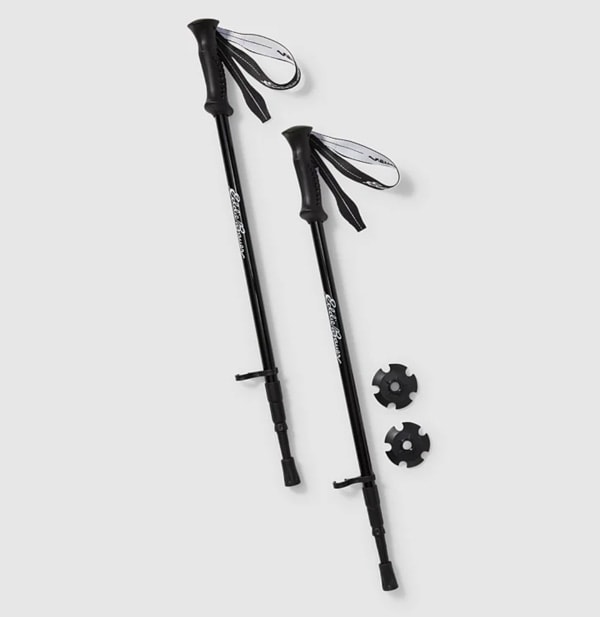
Trekking Poles
I actually hate trekking poles, but they were 100% necessary for me on this trek. There were so many steep inclines and descents, that there was no way I would have made it without them.
Ropes, Belay, Harness & Ice Axe
Since it was my first time mountaineering, I chose to include this in my trekking package and rent everything in Khare.
Hand and Toe Warmers
I actually never used these because I was too sick to try to summit, but I was told by others that Hot Hands are a necessity on summit day. Frost bite is more common than it should be on Mera Peak, so better safe than sorry.
Money (in small denominations)
Talk to your tour company to see what is included and how much money you should bring with you. There are no ATMs on the trek, so you will need to have Nepali Rupees in small denominations (1000, 500, 100, 50, etc).
Permits
You’re required to have a guide, so booking through a tour company is easiest. They will handle your entry permits, climbing permits, and other paperwork like garbage removal, etc.
Copies of Paperwork
Make sure to have copies of your travel insurance in case you need an emergency evacuation. Also carry copies of your passport, visa, permits, etc.
Copy of Travel Insurance
Travel Insurance may be required if you are trekking with a tour company. Even if you are trekking alone, it’s good to have this in case you need to be helicopter evacuated. Consider getting travel insurance if you want peace of mind during your travels. I saw two people get helicopter evacuated on the Mera Peak trek.
Playing Cards
Someone else will always have playing cards, but I recommend bringing a pack just in case. Learn a few games before you leave so you have some options to play when trekking. We had a hilarious time playing “Bullshit” with an entire teahouse. We also had an epic game of UNO going on one trek.
Duct Tape
This seems like a weird thing to recommend, but you never know when you’ll need it. Bring a small roll just in case. I once used it to keep a shoe from falling apart while walking back 5 hours after it busted open (a lesson in buying good quality shoes).
Shopping in Nepal
Planning to shop when you arrive? On my first trip to Nepal, I was backpacking for 9 months in Southeast and South Asia. I didn’t have room in my pack to carry a bunch of heavy winter clothes with me, so I ended up buying everything in Thamel (the tourist hub in Kathmandu). I arrived a few days early, so I had plenty of time to search for things. I learned quickly that I’d need to check multiple stores and negotiate a lot.
Recently, I was approached by Mount Ready to try out their new system. They make the experience a lot easier. You simply go to their website, pick your trek and they have a pre-arranged pack with everything in it. It’s the same stuff you buy in Thamel (including knock offs) but you don’t have to spend days running around and negotiating. The prices are fair and you can add or remove stuff from the pack. You show up at the store, and everything is picked out for you. All you have to do is try it on and pick the colors you like. It’s super simple.
Before recommending them, I wanted to test it out myself, so I had them put together a pack for the Annapurna Circuit. I removed a few things, changed some sizes and styles and checked the quality of the clothes. If you’re doing a trek once and don’t want to invest a lot of money, then this is the way to go. I started out with a lot of items from Thamel and slowly upgraded my pack with the Eddie Bauer products listed above.

My favorite stores in Thamel, KTM are:
Kalapatthar Trekking Store – for renting equipment like sleeping bags, down coats, etc.
Everest Outdoor Gear – for purchasing trekking clothing and gear for reasonable prices.
Special thanks to Swotah Travel & Adventure for arranging my expedition.
You might also like…
Michelle Della Giovanna
Writer at Full Time Explorer
I’m just your average New Yorker who quit her job in the fashion industry to explore the world. Come find out what it’s like to trade in five-inch heels for squat toilets.
Hey Michelle,
Thanks for your tweezers again. I hope you still remember. I read some of your articles and they are very informative and inspirational. My name is Dian.
Have good time out there. I’ll follow your stories
Dian! Of course I remember you! Thanks for remembering to check out my blog. It was great meeting you in the mountains. I didn’t get to summit, but still had an amazing time trekking.
Best,
Michelle
Thanks for your a great information about Merapeak climbing gear in detail
Really appreciate your advice on gear to take… sorry you didn’t get to summit hope you enjoy many more adventures
Thank you so much!