In the past, getting a Nepal tourist visa on arrival was incredibly hard to navigate. There was almost no information online and even less help at the airport. Because of that, I always paid to get a visa in advance by mailing my passport to the Consulate in NYC. Now, the tourist visa on arrival process is a little easier. You can fill out some of the information online in advance to help make things go smoother. Here’s how…
Nepal Visa on Arrival Check List
Passport Photo
Passport (valid for at least six months)
Copy of Passport
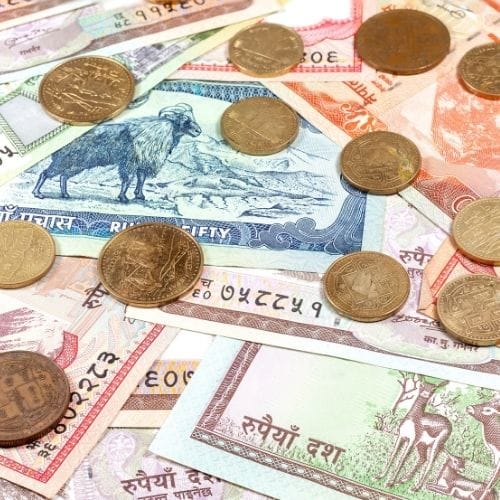
Cash for Visa (in USD)
Printed Online Application
Visa Prices
15 day – $30
30 day – $50
90 day – $125
Step 1 – Online Application
In order to skip a few lines at the airport, I’d recommend filling out as much information prior to arriving as you can. You can go to the Nepal Immigration website to get started.
*You must fill the form out within 15 days of arrival or it will be invalid*
You will need
- a digital copy of your passport
- a digital copy of your passport photo (2×2″ square)
- the name of the hotel you are staying at on arrival
Fill out the information on the right and proceed to the next page.
The second page will need all of your personal and passport details.
The third page is about which visa option you want.
Check your details and finalize the visa. Make sure to download and print a copy once it is accepted.
Step 2 – Pay the Visa Fee
When you arrive at the airport, there aren’t many directions or instructions. When you get to immigration, you’ll want to walk straight to the desk with the bank sign above it. If you haven’t filled out the online application, you’ll need to go to one of the kiosks to fill out the form. During peak season, there can be a large queue. This might sound silly, but I highly recommend having a pen with you for immigration. Nepal is prone to power outages, and waiting for a pen in a herd of tourists trying to fill out paperwork is a nightmare.
If you’ve filled out the online application, then you can go straight past the kiosks, and you will see a sign for the bank. Here you’ll wait on line to pay your visa fee. It’s best to have exact change to make the process go quicker. Make sure your bills are new as Nepali people will not accept torn or crumpled USD.
Step 3 – Immigration Counter
From here, you’ll head to your right. Luckily, this area is well labeled. Near the far side of the room you’ll see a few lines for foreigners. The lines are broken into sections depending on how long you’ll stay. Select the appropriate line (i.e. 15 days, 30 days, 90 days) and have all of your papers out and ready to go. In addition to the papers, you’ll need your boarding pass from the flight you took to enter the country.
Step 4 – Enjoy Nepal!
After customs, you’ll navigate your way out of the airport with a new passport stamp in hand. From here, you can enjoy all that Nepal has to offer! For a good laugh about the Tribhuvan Airport, read this article in the Nepali Times.
You might also like…

Michelle Della Giovanna
Writer at Full Time Explorer
I’m just your average New Yorker who quit her job in the fashion industry to explore the world. Come find out what it’s like to trade in five-inch heels for squat toilets.


Leave a Reply