I made this Annapurna Circuit itinerary after realizing that there wasn’t a lot of solid information on how to navigate the path without a guide. Everyone I met who completed the Annapurna Circuit said it was easy to navigate, and the trails were well marked. I have to say that I don’t entirely agree. I went trekking through the Annapurna Circuit in the off season (May-June), and without a slew of people ahead to lead the way, we really had to navigate to find the correct trails. While most trails led to the same path, there always seemed to be some choices, and it was unclear which way was best. One path might be extremely hard with little reward, while another could be easy with the same views. Some took you through quaint little villages while others stuck near the dusty road.
Overall, trying to guess which way was best was an interesting experiment. While the information below is a good itinerary to follow, it’s mostly to help people with all the information that often gets left out between point A and point B. Where a trail might be hard to locate, or if it’s better to walk to the end of town for a nicer guest house. I’ve even tried to provide some information on what side paths are currently closed due to construction of the road being built. Here’s what I learned after spending 26 days in the Annapurna Conservation Area.
Note: walking time could be faster or slower based on your own pace. Walking times do not include tea or lunch breaks. The map below is not meant for navigational purposes as many trails are missing.
Annapurna Circuit Itinerary Overview
Duration: 12 to 21 days
This varies based on your starting point and which side treks you add. We started at the very beginning of the trek while others took a jeep past the first five days and started in Chame. We also added a 4 day trek to Tilicho Lake.
Difficulty Level: Moderate/Difficult
Highest Altitude: 5,416m (17,769 feet)
Permits: ACAP is 3,000 rupees ($30 USD) and the TIMS is 2,000 rupees ($20 USD)
Annapurna Circuit Itinerary Map
Day 1 – Besi Sahar to Bhulbhule
Starting Altitude: 760m (2,494 feet)
Ending Altitude: 840m (2,755 feet)
Walking Time: 3 hours
Tea House: Heaven Guest House
Oxygen Concentration: 91%
The tourist buses from Kathmandu to Besi Sahar weren’t running when I went, so I took the local bus. It takes between 6 and 10 hours depending on your luck. Mine took about 7, so I recommend taking the earliest bus possible and having lunch in Besi Sahar. The local bus costs 360 rupees ($3.60), and it left from Gongabu New Bus Station Park. When the bus arrives in Besi Sahar you’ll want to take it to the very last stop.
If you walk to the end of the main road in Besi Sahar, you’ll find the road goes downhill and to the right along the river. It seems there are several other routes, but for me, it was my first day carrying my own backpack. In the past, I’d always had a porter and carried a small day pack. Both David (my trekking buddy) and I agreed that it was unnecessary to make the first day harder than it had to be, so we decided to stick to the road instead of climbing a steep staircase on the trekking trail.
The road runs along the river and still offers lovely views. We started our trek in mid-May when most trekkers are already completing the circuit. Therefore, there weren’t many jeeps on the road. We were also trekking closer to monsoon season which means rainfall would be more likely, but there was also very little dust. The hike was only three hours up a gentle incline. We wanted to stay in Khudi, but the only guesthouse there was full when we arrived, so we moved on to Bhulbhule where we stayed in the Heaven Guest House.
Day 2 – Bhulbhule to Bahundanda
Starting Altitude: 840m (2,755 feet)
Ending Altitude: 1,310m (4,297 feet)
Walking Time: 5 hours
Tea House: Hotel Mountain View
Oxygen Concentration: 86%
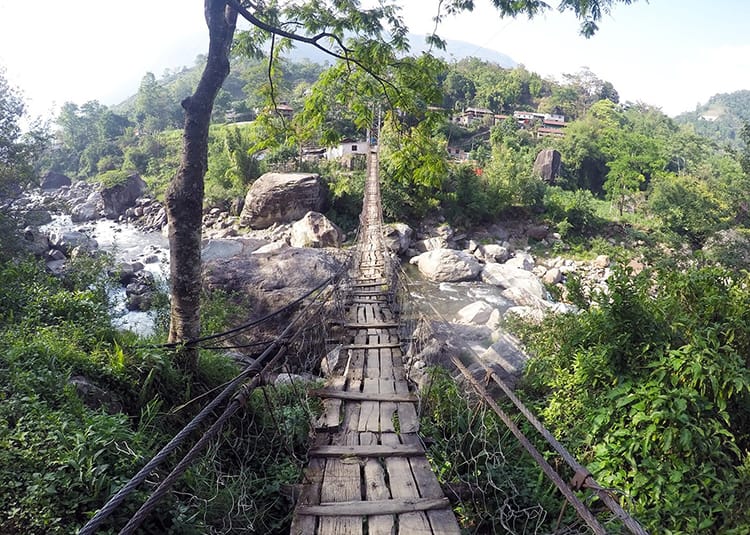
The walk from Bhulbhule to Bahundanda takes about five hours. We got a late start due to rain in the morning, so we didn’t set out until 10:30am. Again, we stuck along the road. We both figured that we would have plenty of days of trekking up steep mountains, so we took it easy. There are a few small trails that cut through villages and bypass small chunks of roadway, so we took those. We passed through Ngadi which is a cute village, but we had such a late start that we decided to move on instead of stopping for food.
The road to Bahundanda gets a little bit steeper towards the end. There’s a small trail on the right leading up to the town which sits perched on the top of the hill. There’s music playing from the village and a large beautiful tree covered in prayer flags. We missed the small path because there were no signs, so we ended up taking the unnecessarily long route up the steep road which could have been avoided.
Day 3 – Bahundana to Chamje
Starting Altitude: 1,310m (4,297 feet)
Ending Altitude: 1,430m (4,691 feet)
Walking Time: 5 hours
Tea House: Potala Hotel
Oxygen Concentration: 85%
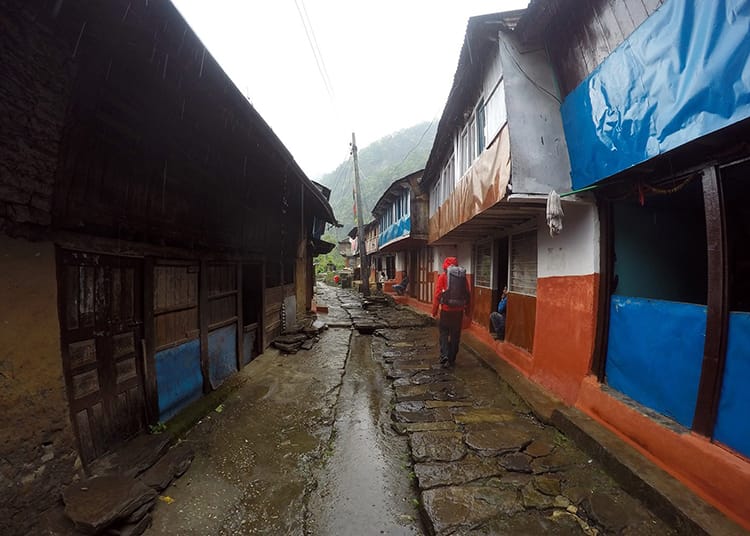
The trek from Bahundana to Chamje starts off rather easy. There are some markers on the road to follow some side trails, but they lead out of the way and straight uphill. They don’t bypass anything and they don’t offer a view. These side routes end up adding almost an hour to our walk, and we end up hiking for 6 hours.
There’s a gradual but very long uphill switchback on the road. It took about a half hour for us to complete it, and by the end, I felt exhausted, mostly from carrying my pack. We got hit with insanely hot weather and no matter how much water I drank; it didn’t seem to be enough. We grabbed lunch in Syange. Our original plan was to try to walk to Tal, but it seems too far, so we stop at Chamje for the night and stay at the Potala Hotel. The shower is hot, there’s a flushing toilet, and for dinner we have the best dal baht I’ve ever had while trekking.
Day 4 – Chamje to Dharapani
Starting Altitude: 1,430m (4,691 feet)
Ending Altitude: 1,860m (6,120 feet)
Walking Time: 6 hours
Tea House: Hayath Guest House
Oxygen Concentration: 81%
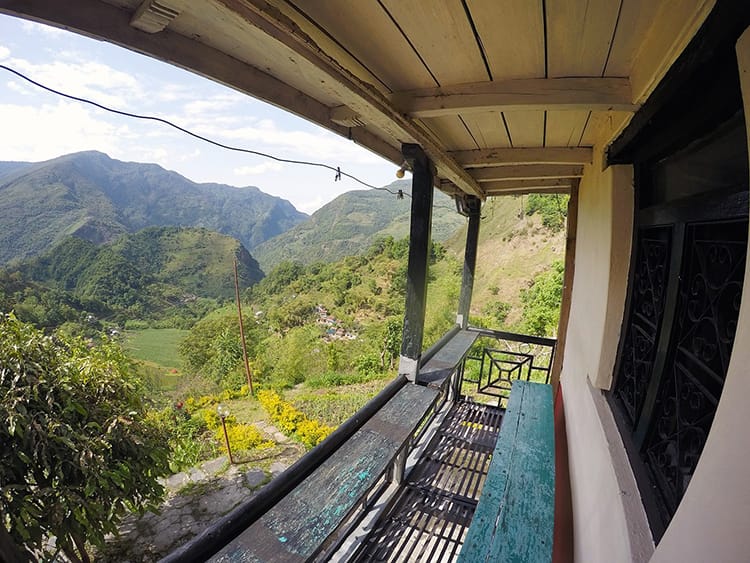
This is the first day completely off the main road. The walk to Tal is mostly uphill and some sections are a bit steep, making it a long morning. The pathway there goes through beautiful bamboo forests and cliffs covered in lush ferns. The endangered red panda is known to live in the area. Tal is a gorgeous town set between a river and a waterfall in a wide open valley. When we arrive, we walk to the end of town and stop at the Paradise Hotel & Restaurant for tea and the WiFi works great. It looks like it’s going to rain so we decide to get as close to Dharapani as we can before lunch.
The walk to Karte isn’t as steep and the weather clears up, so we stop for lunch at 3 Sisters Hotel and Restaurant. The food is good and gives us the energy to walk the remaining 30 minutes to Dharapani. Karte looks like a decent place to buy some toiletries and snacks that might not be available in Dharapani. The end of the route is easy and goes by quickly. We decide to stay at the Hayath Guest House which has gas showers, okay WiFi, and large rooms.
If you want to combine the Manaslu Circuit Trek and Annapurna Circuit Trek, they meet up at Dharapani. Combining the two allows you to see different parts of the Himalaya as well as different ethnicities and traditions. It’s best to do the Manaslu Circuit first, and then start the Annapurna Circuit after.
Day 5 – Dharapani to Chame
Starting Altitude: 1860m (6,102 feet)
Ending Altitude: 2670m (8,759 feet)
Walking Time: 6 hours
Tea House: New Tibet Hotel
Oxygen Concentration: 73%
The day starts out back on the main road with a nice gradual incline. There’s a fork in the road, and we took the one going to the right which goes over a bridge to the other side of the river. From there, there’s a steep switchback followed by a small path on the left with a sign for Chame. This section of the trek goes through beautiful corn fields and farm land. You can also see tons of marijuana plants growing like weeds along the pathway. The path descends back to the river and crosses over a bridge connecting with the main road.
From there you walk through the villages of Qunche and Danakyu. After you leave the rather large and brightly colored Danakyu, you can follow the main road until you see a path on the left. The path takes you up a steep incline and brings you out right in front of Tamang. We had lunch at the Tibet Lhasa Guest House which had great vegetable egg fried rice and fast WiFi. Tamang is located in a large open valley which has views from all sides. It took us about 3 hours to reach here.
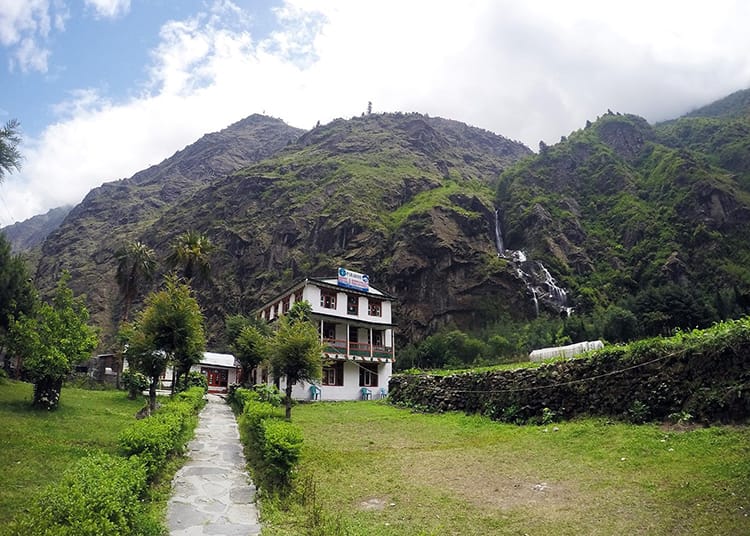
After lunch, you get back on the main road which has a gentle incline, and follow it towards Chame. There’s a side path on the right with some small hills, but nothing really difficult. The path passes over a bridge and through several small towns and finally comes out in the large village of Thanchowk. You’ll end up back on the main road to Koto. Both towns are nice places to stop for tea. A bit further down the road and along the path to the right you’ll find Chame. It’s a large town with lots of places to buy last minute trekking supplies. We walked all the way to the end of town where there’s a suspension bridge. Just across the bridge and to the right is the New Tibet Hotel which has large rooms, very nice and very hot showers, and decent WiFi.
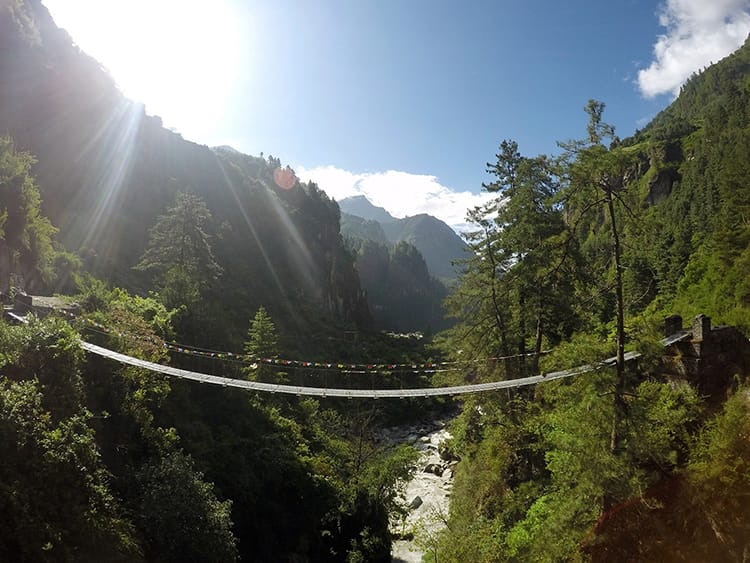
Day 6 – Chame to Upper Pisang
Starting Altitude: 2670m (8,759 feet)
Ending Altitude: 3300m (10,826 feet)
Walking Time: 5 hours
Tea House: Hotel Tuniche and Rooftop Restaurant
Oxygen Concentration: 68%
After leaving Chame, we followed the main road for about an hour and a half. Along the way we stumbled upon an apple farm with a small tea shop and an extravagant hotel. It was the most beautiful lodging I’d seen in all of Nepal. The Farmhouse looked like it was straight out of Upstate New York, and reminded me so much of home. The small shop out front had incredible fresh chocolate covered donuts and apple tea. If you want to break up the trek with a bit of luxury, the hotel costs $60 a night for a room.
After tea we followed the road and took a path to the left which was a little bit steep, but not for long. It crossed through the main road and picked up immediately on the other side which had gorgeous pine tree forests. We decided to stop for an early lunch in Dhikur Pokhari at the Sworgadwari Rooftop Restaurant. It’s the first restaurant in town and has the best view of the steep sloping mountain range that you’ll see on the way.
After lunch we followed signs for Upper Pisang but somehow missed the trail on the right. We ended up in Lower Pisang after following the main road which is rather dusty. We continued on the road to Upper Pisang and headed for the tea houses at the top. The views from the top are incredible and Annapurna 2 looked gorgeous in the distance. We chose to stay at the Tuniche and Rooftop Restaurant where there’s a gas shower and large clean rooms. The entire city was without power (temporarily) so no one has electricity or WiFi. At the top of Upper Pisang is a beautiful monastery where you can stop by and listen to monks chanting before dinner.
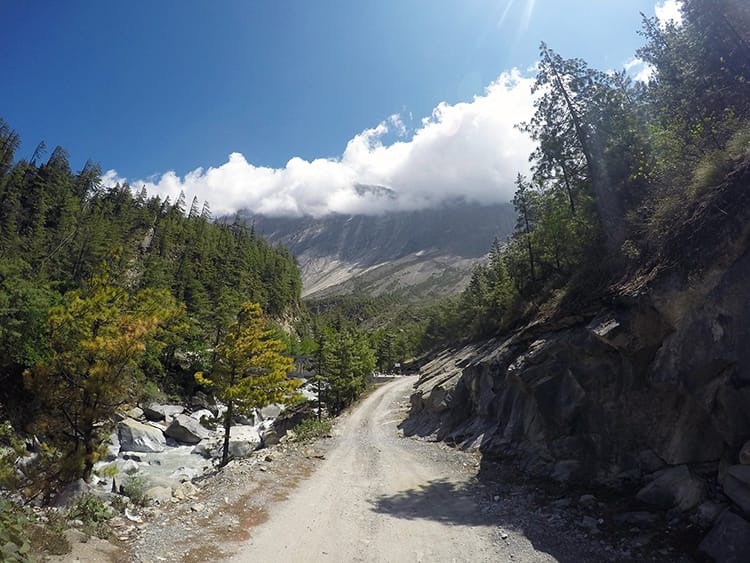
Day 7 – Upper Pisang to Braka
Starting Altitude: 3300m (10,826 feet)
Ending Altitude: 3439m (11,282 feet)
Walking Time: 6 hrs
Tea House: New Yak Hotel & Restaurant
Oxygen Concentration: 67%
Our guesthouse owner directed us toward the path to Manang. It starts out nice and gentle with beautiful views of the mountains to the left. The path remains almost flat for an hour and then you hit a steep incline. Make sure to stay on the trekking trail (by crossing the suspension bridge) and not the road. The trail is steeper but the road is much longer. At the top of the hill is a small tea shop which is the perfect place to stop and catch your breath. The owner is a sweet little old lady who has all kinds of goodies. Just another ten minutes up the road you’ll be greeted by a woman selling fresh apple pie for 100 rupees ($1) and amazingly delicious yak cheese! We sat there for an hour by the pagoda just enjoying the views with a group of other trekkers.
After the tea break, you’ll walk through the beautiful village of Ghyaru. Most of the homes are made out of stone and the small narrow alleyways are gorgeous. After leaving town, there’s a bit more uphill and then the trail evens out and it’s a beautiful walk to Ngawal. The Ngawal Mountain House is the perfect place for lunch. It has the cleanest kitchen I’ve seen trekking and one of the nicest bathrooms I’ve seen in Nepal. We debated staying here, but in the end decided to stick to our plan. The rooms here are between $5 and $25 a night, but look very posh.
From Ngawal, it’s a gentle incline along the road with just a few hills. We decided to take the easier route on the map (to the left) since the morning was so exhausting. You’ll pass through a few small villages and then arrive in beautiful Braka. We stayed at the very nice New Yak Hotel which is one of the first ones in town. They have beautiful clean rooms and a very hot gas shower.
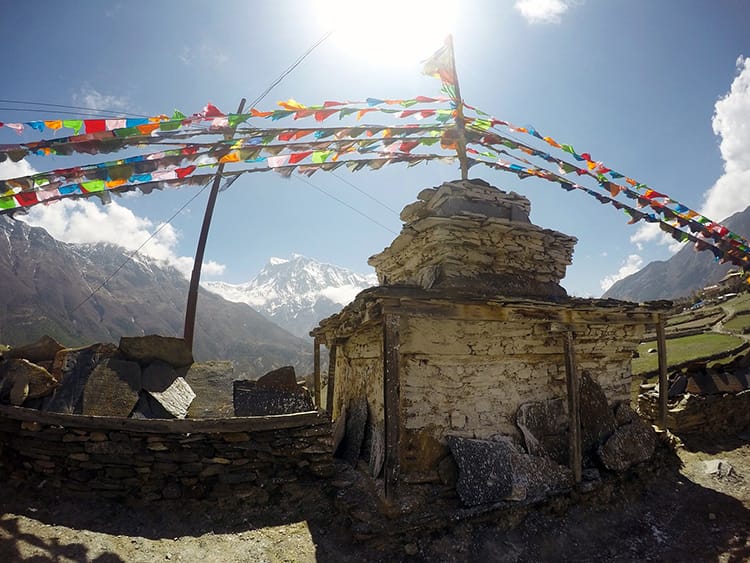
Day 8 – Braka Acclimation Day – Manang
Starting Altitude: 3,439m (11,282 feet)
Highest Altitude: Milarepa’s Cave 4,250m (13,943 feet)
Ending Altitude: 3,540m (11,614 feet)
Walking Time: 3.5 hrs
Tea House: Hotel Yeti
Oxygen Concentration: 66%
We spent a day in Braka to acclimate. The best way to acclimate is to walk high and sleep low. There are two popular side treks that start in Braka. Ice Lake goes up to 4,600m and offers spectacular views, but I’ve heard that the lake itself is nothing special. We decided to do Milarepa’s Cave which is at 4,250m. The cave was extremely hard to find and marked incorrectly on maps, so we ended up seeing two other “caves” instead. That being said, it offers incredible views in almost every direction. You can check out this post on Milarepa’s Cave for more details.
One of our friends walked to Manang (an extra 40 mins) in the afternoon. I would recommend doing this because Manang has a lot to offer as far as food and comfort. There’s even a small movie theater where I would recommend seeing the movie Caravan (a Nepali favorite). I also recommend stocking up on yak cheese or any trekking items you might need before going over the pass. After a side trek to Tilicho, we went through Manang and stayed at Hotel Yeti which had a bakery, gas shower, clean rooms, and good food.
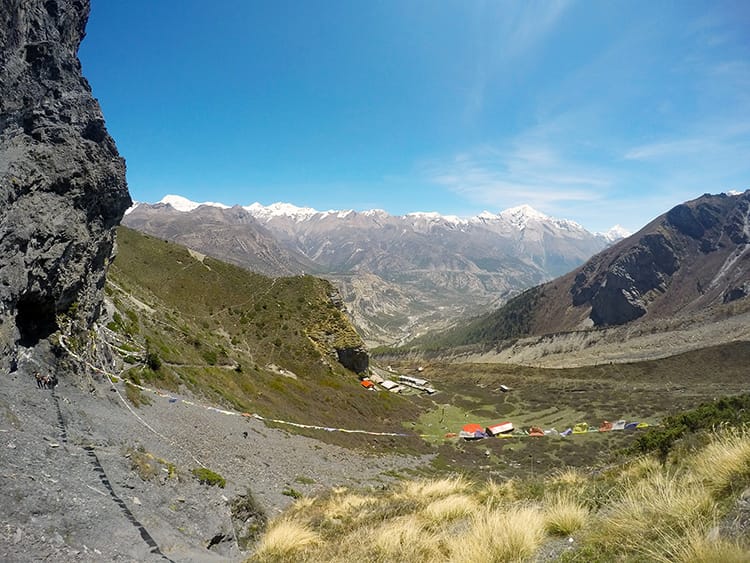
Tilicho Lake Side Trek
4 Extra Days (optional)
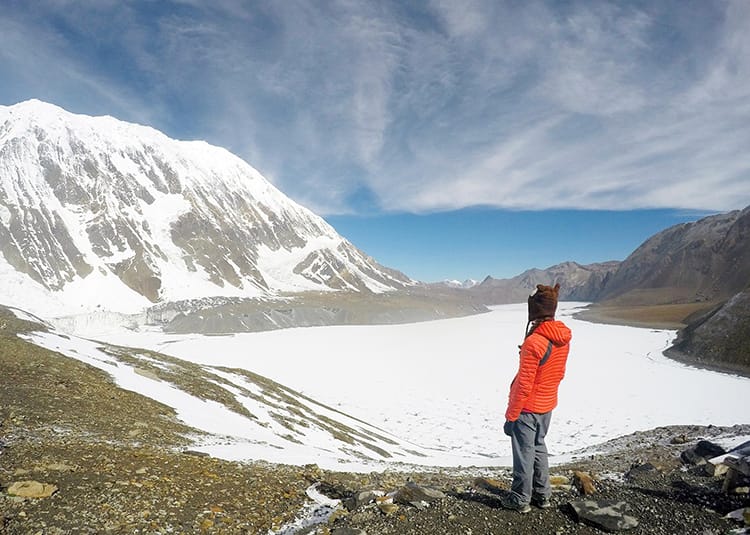
Tilicho Lake is a beautiful glacial lake located at an altitude of 4,920m (16,141 feet). This side trek usually takes 3 to 4 days. We decided to do a leisurely four days to avoid windy conditions on the notorious landslide and rock fall areas. The views along the way are incredible, and it was my favorite part of the trek. Check out this post for a detailed itinerary on the Tilicho Lake side trek.
Day 9 – Manang to Yak Kharka
Starting Altitude: 3,540m (11,614 feet)
Ending Altitude: 4,050m (13,207 feet)
Walking Time: 3 hours
Tea House: Ganggapurna Hotel
Oxygen Concentration: 62%
To leave Manang, you’ll need to pass an ACAP check post to show your permits. After that, follow the main path and the signs pointing to Thorung La until you are out of the village. Once you leave, you’ll see the road split and the sign will point you to the right. The trail is easy to follow and looks more like a road. It has a gradual incline all the way to Gunsang where we stopped to have a cup of tea at the Chullu West Hotel on the left. From here you can see Ganggapurna. It took us about an hour and fifteen minutes to arrive here.
After Ganggapurna, it’s an easy and beautiful trek to Yak Kharka. We honestly could have continued onto the next town which is close by, but we fell in love with the teahouse we choose to have lunch at. The Ganggapurna Hotel has the cutest little dining area at the front and it has good WiFi, gas showers, and electricity (while the rest of the town’s power was out.) We got WiFi for free in exchange for eating lots of food there. Hot showers were $2, but I heard they weren’t that great so I skipped one.
Day 10 – Yak Kharka to Thorung Phedi
Starting Altitude: 4,050m (13,207 feet)
Ending Altitude: 4,525m (14,845 feet)
Walking Time: 2.5 hours
Tea House: Thorung Base Camp Lodge
Oxygen Concentration: 59%
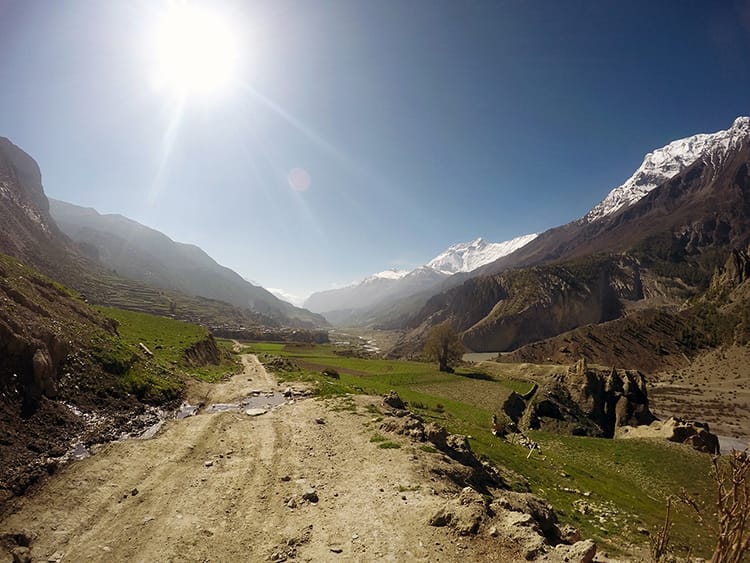
Yak Kharka literally means yak shed, so you’ll see a ton of yaks being herded to the fields beyond the town. On the way to Ledar we passed all the herders heading out in the morning in what felt like the most authentic part of the trek. The hike was easy and takes less than an hour with a gradual incline up 150m (492 feet). To the right is an incredible view of Chulu West.
After Ledar, the path evens out for a while. When it splits, stay to the left heading towards the river and again take the path to the left at the second fork towards the suspension bridge. We took the path to the right which goes all the way down to the river and back up a steep incline, making it a harder route even though it ends up in the same place. At the top is an adorable little tea house. The lady inside and her fat little dog are amazing. She advised us to be careful ahead because there was a landslide zone and blue sheep walk along the ridge knocking down loose stones.
Along the land slide, we do see blue sheep running along the ridge and grazing in the grass. I wait for them all to pass before proceeding to ensure that no rocks fall down. This area has a pretty wide path compared to other areas on the trail, so it’s not as scary as the Tilicho Lake side trek.
When we arrived at Yak Kharka, it started to snow. We had originally planned to try to make it to High Camp, but I had a small headache so we decided to stay lower to acclimate. I heard the one hour from Yak Kharka made going over the pass harder. Half of our group went to High Camp and half stayed behind. Friends told me High Camp was freezing cold, the facilities weren’t great, and they didn’t sleep at altitude.
On the other hand, we stayed at the Thorong Base Camp Lodge where we had people playing guitar, dancing, doing yoga, playing high altitude chess, and a Jenga competition that took hours to complete and got insanely intense. We had to walk further in the morning, but we had an incredible time staying in a warm lodge with fun games to keep us busy. It was one of my favorite nights of the trek, so I highly recommend stopping in Thorung Phedi.
Day 11 – Thorung Phedi to Muktinath (over Thorung La)
Starting Altitude: 4,525m (14,845 feet)
Highest Altitude: 5,416m (17,769 feet)
Ending Altitude: 3,760m (12,335 feet)
Walking Time: 9 hours
Tea House: Bob Marley Hotel
Oxygen Concentration: 52% (at highest point)
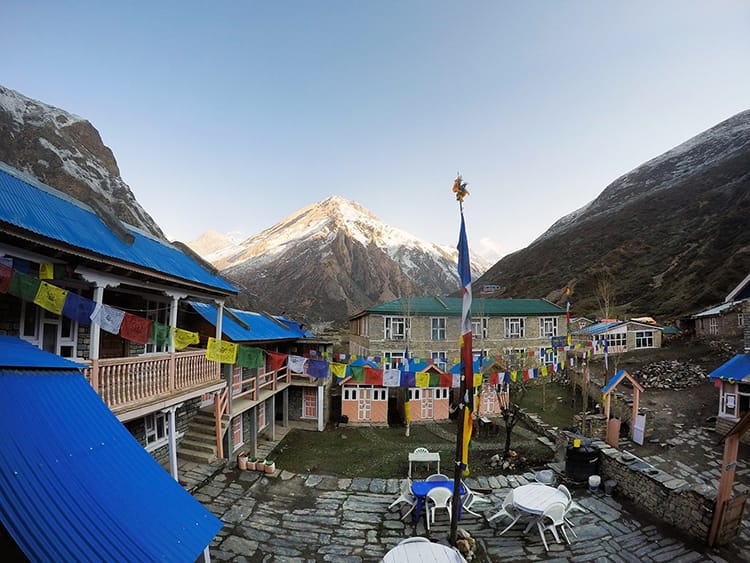
We pre ordered our breakfast the night before which included honey porridge at 4:00am and two hard boiled eggs to go. After packing and getting dressed, we ended up starting the hike at 5:00am. The route to High Camp is steep and takes about an hour. There is only one hotel at High Camp, so we stopped there to have a hot tea and change our clothes (I was hot). We spent about a half hour there before heading back out.
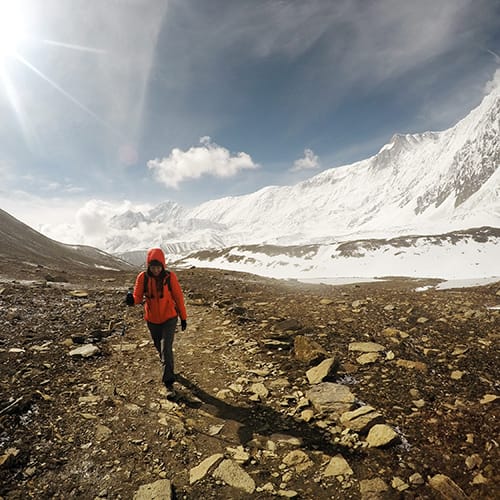
The part right after high camp was my favorite. The sky was still somewhat clear of clouds and we could see several beautiful peaks to the right of the path that were breathtaking. The path from here to the pass varied from flat sections to short steep sections. Looking at it from afar, it looked like the easiest walk ever, but the altitude made us feel extremely out of breath. We all looked like we had been weighted down at the feet. After about 2 hours we reached Thorung La Pass which is a building with a bunch of prayer flags next to it. Unfortunately, clouds had rolled in, and it started to snow, so we couldn’t see any views.
After hugging everyone and eating some celebratory yak cheese, we began the very steep descent to Muktinath. It’s a 1700m (5,577 foot) descent which was rough on my knees and made me feel like an old grandma. The views were incredible, but it took all of us longer than we expected to get back down. We stopped at Chambar Bhu along the way and had a long lunch as our group all caught up with each other. We rested for about 2 hours, and then finished the gradual descent back down to Muktinath and arrived around 2:30pm.
The night before, we all decided to meet at the Bob Marley Hotel. When we arrived, we all celebrated with food, drinks, and a few games of pool. The atmosphere there is really nice with great music playing. The food was amazing, and I highly recommend the margherita pizza and apple pie. The hot showers were amazing, and my room was comfortable. The only downfall was that the WiFi didn’t work great. Otherwise, I probably would have stayed longer. A lot of people end their trek here and take a jeep or bus to Jomsom or Pokhara. We decided to continue on.
Day 12 – Muktinath to Kagbeni
Starting Altitude: 3,760m (12,335 feet)
Ending Altitude: 2,810m (9,219 feet)
Walking Time: 3 hours
Tea House: YacDonald’s
Oxygen Concentration: 72%
A friend of mine told me Kagbeni was a beautiful “sleepy town” that I should definitely go see. Most of the trekking route has been catered to tourism, and I was curious to see a town that hadn’t been completely formed around the tourist trail. Since it was halfway to Jomsom, it seemed like an obvious choice to go visit. Plus, there were rumors of a YacDonald’s which was worth walking out of the way for.
You can easily hop in a Jeep, but I’m cheap and had already walked this far, so it seemed dumb to give up at this point. I decided to follow the paved road for an easy day of walking after such a long trek the previous day. My trekking buddy opted for the “trail” on the opposite side of the valley which ended up being a dirt road. The paved road did have some detours that went through the small towns of Jharkot and Khingar.
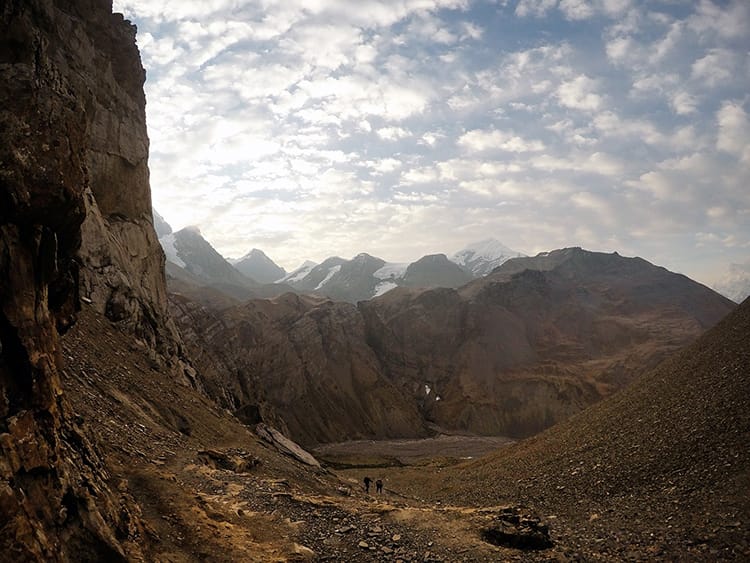
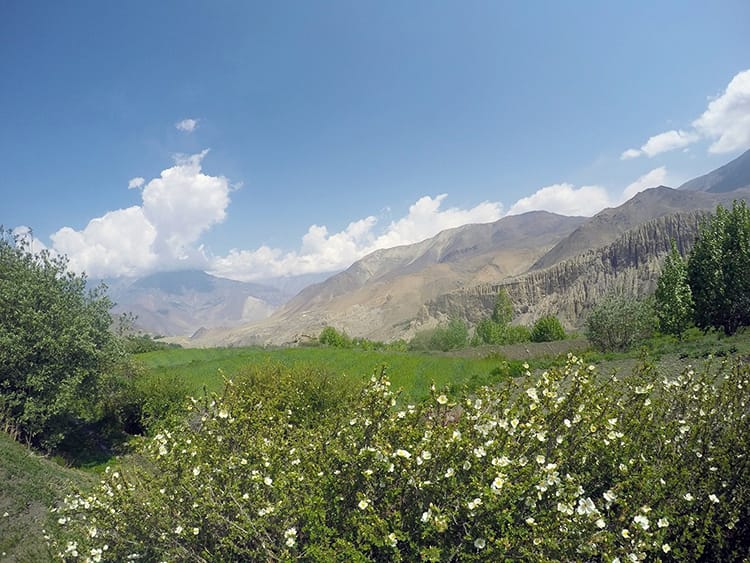
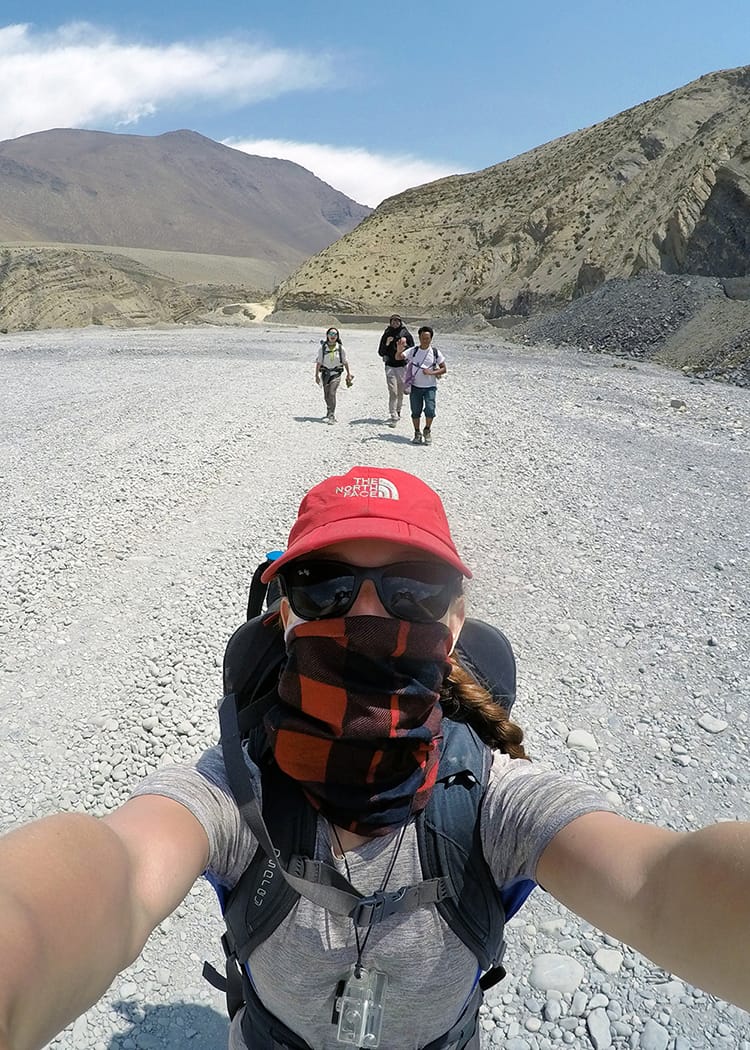
The views were incredible and unlike anything I’d seen in Nepal so far. Parts looked like the Grand Canyon while other sections looked like a desert. Make sure you have a lot of water because I was directly in the sun for three of the hours walking on pavement. The last hour of the trek we were both hammered with wind and small sandstorms. It was so strong that it almost knocked me over, and I was walking like a drunk. Make sure to have a face mask or buff with you to prevent getting dust in your mouth and nose.
After arriving in Kagbeni, I searched for the rest of my crew and strolled through the beautiful streets. It’s the oldest city I’ve seen in Nepal, and the architecture is incredible. I’d stumble on stupas, rows of prayer wheels, and old stone buildings. I eventually decided to eat and stay at YacDonalds despite the $5 room charge. I ordered the happy meal for lunch which promised a side of happiness and they were right. It was an AMAZING burger even by American standards.
Day 13 – Kagbeni to Marpha
Starting Altitude: 2,810m (9,219 feet)
Ending Altitude: 2,670m (8,759 feet)
Walking Time: 3.5 hours
Tea House: Tanpopo
Oxygen Concentration: 73%
We originally planned to walk to Jomsom, but upon arriving, opted to keep moving on to Marpha. The road from Kagbeni to Jomsom is a dusty construction zone mess that crosses an empty river bed. It wasn’t especially scenic, and it was insanely windy, which I hear is common in this section of the trek. The side route that we didn’t take went up in elevation quite a bit, and I was still sore from coming down from the pass, so I wanted an easy day.
Jomsom is a large village with very little charm. We had intended to spend two nights there to rest, but it lacked any personality. We made a stop at the ATM because we were all desperate for cash, grabbed lunch, and quickly exited the town which felt cold and distant compared to beautiful Kagbeni. The road to Marpha was much of the same. We walked through gravel and dust along the road until we entered the city gate.
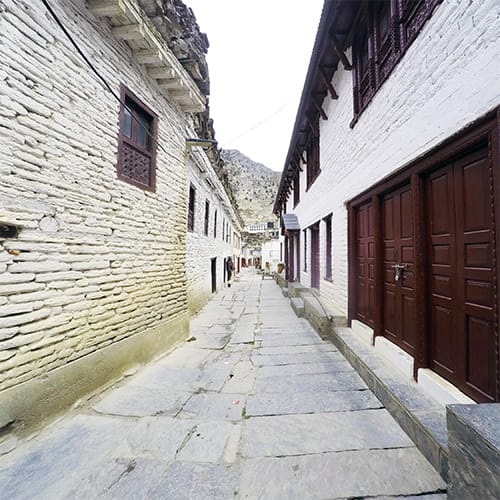
Marpha is full of old world charm and beautiful quaint tea houses. After checking out a few, we ended up at Tanpopo. The rooms have ensuite bathrooms with hot showers and western toilets. The WiFi works better than any other place on the trek. The food is amazing (but a little spicy). Overall, the ambience sold us with its beautiful views and common areas.
***If you’re ending your trek here, you can exchange extra clothes for beautiful souvenirs made by Tibetan refugees in town.
Day 14 – Marpha to Larjung
Starting Altitude: 2,670m (8,759 feet)
Ending Altitude: 2,550m (8,366 feet)
Walking Time: 4 hours
Tea House: Larjung Lodge
Oxygen Concentration: 75%
I recommend leaving Marpha at 7:00am to avoid the intense afternoon winds. After walking through town, you can cross over the bridge to get off the main road and onto the trekking trail. That path goes through beautiful apple orchards that reminded me of upstate New York in the fall. On the way, we went by the Tibetan Refugee Camp where many of the shop owners told me they lived. A bit past that is a military base. We walk right through it, following the circuit trail. It’s one of the coolest yet most bizarre things I’ve seen on the trek.
After the military camp, the forest opens up into the river bed. It’s hard to see signs from here, and there are several different paths across the open space. If you look closely enough, you’ll see the red and white markers. It feels a bit like playing a game of Where’s Waldo. When you reach the other side, stay to the left near the small village and apple trees. There’s a path that cuts through. After the adorable little town, there’s another opening where you have to keep an eye out for the path again. It eventually leads to a path with a 250m (820 foot) incline, but beautiful views of Dhaulagiri.
After descending back down to the river, we stopped in Saura for a cup of tea at the only teahouse in town. The owner directed us across the river to Larjung. There are small wooden beams positioned across the areas that are harder to walk through, so we got across the river easily without having to walk out of the way to the next suspension bridge. This river bed used to be a sea and the entire area was underwater before tectonic plates moved. The cool thing about this, is there are fossils of sea creatures in the area which are millions of years old.
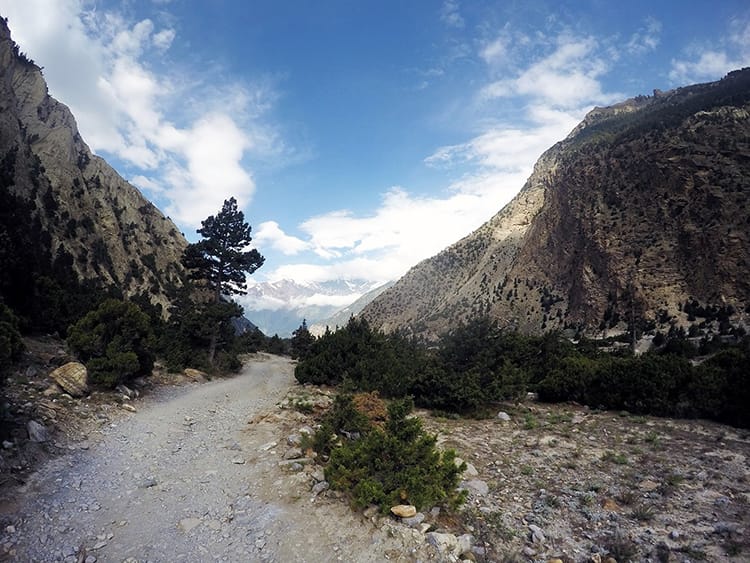
Larjung is a small town. Honestly, it’s one of my least favorite places we’ve stayed. It’s the only place I’ve been where we said “Namaste” to people on the street and they didn’t reply. That being said, our teahouse owner was lovely and made incredible food. The place felt cozy even though we were the only ones there. Our original plan was to hire a local guide for the next day for 1500 rupees ($15) to see the Dhaulagiri Icefall. Unfortunately, road work caused a blockage on the path that even a guide wasn’t willing to attempt going over. We skipped the side trek the next morning, and without the side trek there’s really not much reason to stay here. I’d recommend going to Kalopani if you don’t plan to do this trek or if it’s not accessible.
Side Trek to Dhaulagiri Icefall
1 Day (optional)
Day 15 – Larjung to Ghasa
Starting Altitude: 2,550m (8,366 feet)
Ending Altitude: 2,010m (6,594 feet)
Walking Time: 4 hours
Tea House: Golden Inn Guest House
Oxygen Concentration: 79%
The day starts off on the road, but our GPS directs us across a footpath on the river. After getting halfway across the large expanse, we realize we are unable to pass and have to walk all the way back and around on the road. I would ask the locals if the foot path is there before trying the shortcut. It seemed the small bridges had been washed away. We stopped for tea at Kokhethanti at the only guesthouse in town. After tea, we continued over the bridge to the woods on the other side. It’s an insanely beautiful walk through cute little towns that offer amazing views of Annapurna I. It was the first time we’d seen that peak in the entire trip.
The walk is beautiful and peaceful and not too long. Upon entering Kalopani, we see a sign for real coffee, and I pretty much sprinted to the haven known as the Annapurna Guest House. It was one of the fanciest places we’d seen. The off season price was $15 a room, but it’s pretty fancy compared to the teahouses in town. We sat down for a break to have real coffee, WiFi, and an early lunch. The shakshuka was delicious despite not having a lot of tomato sauce. It only took us two hours to get here, so we decided to continue on despite the lovely lodging option.
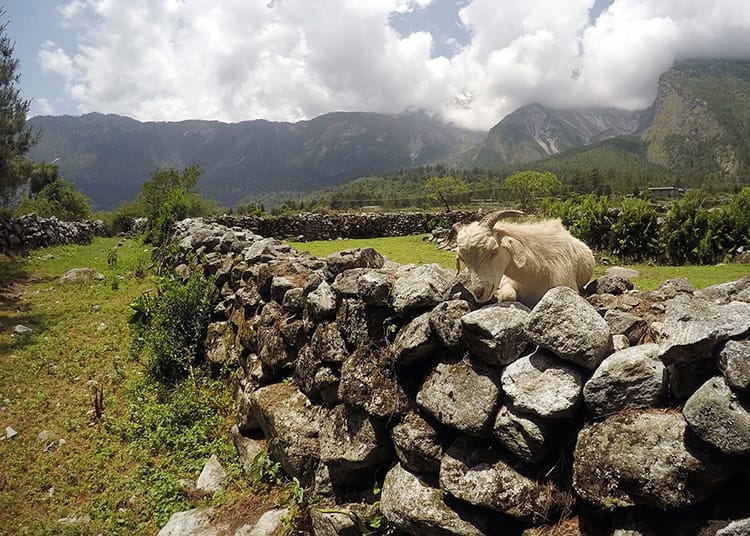
In Kalopani, there is a path to the left which you’ll want to take. We ended up missing it but were desperate to get off the road. In turn, we had to climb through some thorn bushes, over stone walls, and across someone’s field to get back on the footpath. Once there, it was totally worth the crazy detour. We stumble upon a goat herder with hundreds of goats all taking a nap in the shade of the pine trees. This path connected back with the main road. On the other side of the road, a path picks back up, but we missed it and ended up on the road for at least an hour in the intense sun and grueling heat until we reached Ghasa.
Ghasa is a tiny town which seems to have some construction going on on the walkways. We stopped in the Golden Inn Guest House for a pancake and tea. We did not stay in Ghasa because we had the brilliant idea to get all the way to Tatopani, which is 31km (20 miles) from Larjung. I do not recommend this. It was an insane day, and we didn’t arrive till 8pm. Most people stay in Ghasa, so I’ve split this up into two days for the sake of other people’s feet and sanity.
Day 16 – Ghasa to Tatopani
Starting Altitude: 2,010m (6,594 feet)
Ending Altitude: 1,190m (3,904 feet)
Walking Time: 5 hours
Tea House: Hotel Trekkers Inn
Oxygen Concentration: 99%
As said in the previous paragraph, we made the bright decision to do two days of trekking in one. We were still in good spirits when leaving Ghasa. We attempted to take a side trek to the left. After walking pretty far down, we realized that a crane doing roadwork above had pushed giant boulders down the slope, and they had all landed on the footpath that cut across. There are no signs indicating this blockage, and the path is covered by what looks like a landslide. It’s a complete mess and very dangerous, so don’t take this route.
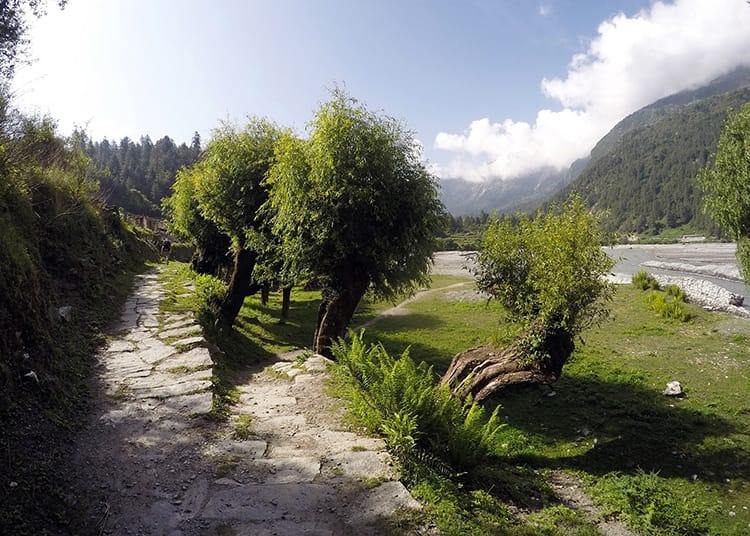
Past the construction work on the road is a well-marked path that has not been effected by roadwork. Be sure to take this one. It goes directly across a suspension bridge to the other side of the river. The path hugs along the cliffs, offering beautiful views. It goes through quaint villages with little tourism. At first there isn’t much elevation change but eventually the path does go up and down a couple of steep stairs. If you do this in two days, it shouldn’t be too exhausting, but we had been trekking for over 5 hours and were pretty tired at this point. After the hills, you’ll walk through fields of corn and pathways lined with marijuana plants.
Since we did this section during the afternoon, we decided to stop in Dana for dinner. Getting here took 3.5 hours (with a few unplanned detours). We had giant plates of dal baht at the Asha Lodge and Restaurant. The food was great, and we consider staying, but were only an hour away from Tatopani if we walked on the road. We decided to skip the trail to save ourselves time, and to ensure we arrived at Tatopani before it got dark. We checked into the Hotel Trekkers Inn after finding out that the WiFi worked and there was hot water. The food is great and the staff are super friendly.
Day 17 – Tatopani to Ghorepani
Starting Altitude: 1,190m (3,904 feet)
Ending Altitude: 2,860m (9,383 feet)
Walking Time: 8 hours
Tea House: Asha Hotel & Restaurant
Oxygen Concentration: 72%
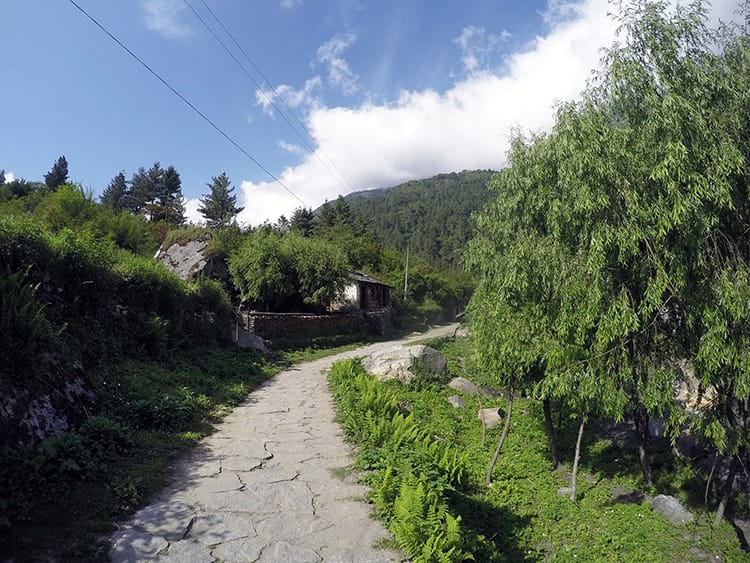
The trek from Tatopani to Ghorepani is probably the easiest to navigate. There are signs pointing to Ghorepani at every single intersection and the path is usually made from hand laid stones, making it the obvious route to take. Some people told us it would take 8 hours while others said 5 hours. Honestly, we probably did it in closer to 7 hours without counting stops, but it was a very long and very hot day, so I’d plan for 8 hours at the worst.
The increase in altitude is what makes this day so difficult. The good news is, most of the path is off the main road, so you are walking uphill constantly but through beautiful little towns with amazing views. Because of the altitude gain, we stopped at least three times for tea or lunch. The tea stops were in tiny towns at the tops of hills. The lunch break was in Shikha at the Moonlight Guest House. The food was really good, but the woman there didn’t want to make me dal baht because it was too much work, and we were the only tourists. After trekking so hard, it was what I was really craving.
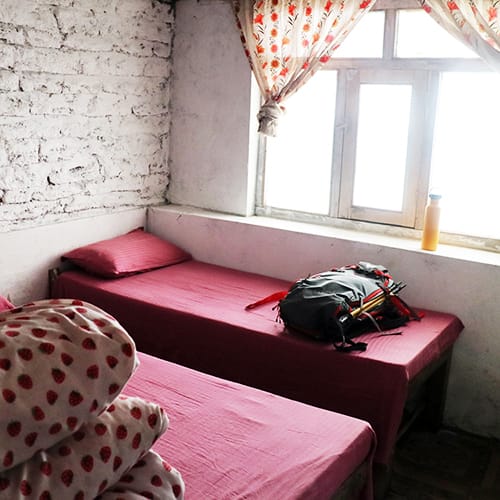
Once in Ghorepani, we stopped at the first hotel which is a massive building compared to other places we’ve stayed. The Asha Hotel & Restaurant felt a little cold and uninviting after the teahouses. It’s a cement building which was still under construction when we arrived. What sold it to us was the incredible owner, a young Nepali woman, who spent a large chunk of time in London. She was amazingly cool and insanely sweet. Once we saw the rooms which had the comfiest beds and blankets, we were totally sold.
I had originally planned to continue on and even do another trek, but my hiking boots got destroyed after walking so far in them. I couldn’t fix them and there was nowhere to buy a new pair, so I had to leave the conservation area by walking to Ulleri the following day to get a Jeep. Luckily, I met a group of four on route so we split the cost which came to 1400 rupees ($14) each.
If you’re in Ghorepani, it’s worth doing the hour walk to see Poon Hill. With my sneakers ruined, and cloudy weather, we didn’t do the trek which had no views that morning.
You might also like…
Michelle Della Giovanna
Writer at Full Time Explorer
I’m just your average New Yorker who quit her job in the fashion industry to explore the world. Come find out what it’s like to trade in five-inch heels for squat toilets.
I am really happy to say it’s an interesting post to read.
I learn new information from your article. Great job. Keep it up!!
Thank you!
I would like to know which month and year the trek was made. Couldn’t find this info anywhere, and it is it most important for people using this blog to plan future treks. Thank you.
Hello Luis, I did the trek in May of 2018 when the road was formed going up to Manang and down from Muktinath. To the best of my knowledge, this is still where the road ends. Trekkers without a guide should download the maps.me app for additional trail info.
Such an incredible journey to one of the highest lakes in the world! Tilicho Lake is not just a destination, but an adventure that offers some of the most breathtaking views. At Haven Holidays Pvt. Ltd., we specialize in creating memorable trekking experiences like this one, helping travelers explore the wonders of Nepal, from Tilicho Lake to the majestic Annapurna Circuit. Let us guide you to the heart of the Himalayas! 🏞️ #TilichoLake #HavenHolidaysNepal #TrekkingInNepal