The Panchase Trek is a short three-day trek covering the southwest side of Lake Phewa near Pokhara. Despite being so close to a major city, this is a proper trek with hiking trails going through gorgeous forests with views of the Himalaya in the distance on a clear day. We attempted this trek in September and there were so many leeches we had to turn back. But that didn’t stop us from trying again two years later in October when the weather was perfect and we got incredible views! Here’s the Panchase Trek Itinerary we followed and everything you need to know.
Panchase Trek Map
Note: This map should not be used for navigational purposes. It is only meant to give an idea of the route and is not perfectly to scale, and some of the walking routes may not be present. Download maps.me on your phone for an accurate offline map that is free to use.
Panchase Trek Overview
Trek Duration
The Panchase Trek takes 3 days to complete.
Panchase Trek Difficulty Level
This is an easy to moderate trek. As it is a low altitude trek, you don’t need to worry about things like altitude sickness or difficulty breathing. Since it’s only 3 days long, it isn’t too strenuous. There are some steep sections, and there are some areas where the trail isn’t well made, but overall this is a great trek for beginners.
Required Permits
No permit is required for the Panchase Trek.
Panchase Trek History
This trek has only gained popularity in the last few years, however the villages along the route are much older. When I asked one of the teahouse owners how old the village was, he said their family had lived in the village for five or six generations.
Originally, this area had a few villages, and the trekking trail was the route taken to cow sheds by shepherds or routes connecting the small villages nearby. The lake near Panchase is a pilgrimage site for Hindus who visit after a loved one has passed away to perform a puja (religious ceremony) in their honor.
Best Time to do the Panchase Trek
Late October to April are the best times to do this trek. The views are best in October and November, however, in March and April you’ll see more flowers. Monsoon season (May, June, July, August, and September) are not a good time to do this trek due to leeches and the overgrown plants that take over the trail. We attempted the trek at the end of monsoon season in the last week of September and we had so many leeches on us we had to turn back.
Panchase Trail Info
The Panchase trail is great for beginners. There are some steep sections, but it’s nothing brutal. The trail consists of stone walkways, stone steps, dirt paths, and some paths that are not very noticeable. The route goes through forests, fields, and a few small villages. Towards the end, you’ll end up near the tourist attractions and major temples in Pokhara which is more crowded and passes through the main road once in a while.
Navigating the Panchase Trek
The Panchase trek is easy to navigate in some sections, and difficult to navigate in others. You can download Maps.me (mobile app) before doing the trek as that has the path marked. However, I do recommend having a guide on this trail. There are some areas that go through dense forest and some areas where the trail is not clearly marked and there is barely a noticeable path.
Packing List
I have a separate post for my packing list as it was too much to include here. Read this blog post for a list of everything I carried with me…
Trip Cost
I’ve written an entire post breaking down what we spent on the trek. You can read it here…
Detailed Panchase Trek Itinerary Breakdown (3 days)
Day 1 – Pokhara to Panchase Bhanjyang
Pokhara Altitude: 822 m (2,696 ft)
Panchase Bhanjyang Altitude: 2,100 m (6,889 ft)
Daily Altitude Increase: 1,278 m (4,192 ft)
Oxygen Concentration: 79% compared to 100% at sea level
Driving Time: 1 hour 30 minutes from Pokhara to Bhadaure by taxi
Walking Time: 3 hours (not including lunch/tea breaks)
Walking Distance: 6.1 km (3.8 miles)
Tea house: Happy Heart Hotel
Daily Details:
The day starts off with a 1.5 hour drive to Bhadaure village. If you leave early in the morning, you can arrive at Panchase Bhanjyang by lunch. But, if you want a more leisurely schedule, I recommend eating lunch in Bhadaure as there is nowhere to stop along the route. We left our hotel a little late, so we got dropped at the highway and walked about 15 minutes uphill to Panchase Green Hill Guest House in Bhadaure for lunch.
Since it’s only a three-hour walk, we took our time stopping for photos and enjoying the view. After lunch, it’s mostly uphill for an hour, but it’s a nice stone path with stone stairs, so it doesn’t feel too difficult.
For the following hour, it’s not so steep, however it is still mostly uphill. The path goes through quiet forests on a beautiful trail. It’s a peaceful and relaxing walk through the woods. On a clear day, there’s nice views whenever you reach an opening in the trees.
The last hour is a gentler walk along a path through the woods. There are some forks in the pathway, so make sure to have a guide or maps.me downloaded in advance. There are no stops or villages in between Bhadaure and Panchase Bhanjyang, so bring snacks and enough water for the entire walk.
Day 2 – Panchase Bhanjyang to Bhumdi
Panchase Bhanjyang Altitude: 2,100 m (6,889 ft)
Bhumdi Altitude: 1,525 m (5,000 ft)
Daily Altitude Decrease: 575 m (1,886 ft)
Oxygen Concentration: 84% compared to 100% at sea level
Walking Time: 4 hours 45 minutes (not including lunch/tea breaks)
Walking Distance: 7 km (4.4 miles)
Tea house: Himalayan View Teahouse
Daily Details:
Day two feels like a proper trekking route and is a little harder to navigate. The day starts off with a path that weaves in and out of a dirt road. While there are almost no cars on this road, it is tricky to find the entry point for the walking path that cuts in between. After you pass the road, you end up going through a jungle route with a pathway that is not well worn. At times, it’s hard to tell where the route goes, which is why a guide is recommended. This section takes about two hours.
From here you end up back on a dirt pathway that goes through a dense forest. The path is mostly flat, but the forest is dense and you can’t see into it. We jumped when we passed a wall of leaves and something on the other side made a peculiar chuffing noise. We jumped so high that it was laughable. It turned out, we startled some pheasants nearby and they must have jumped as well. Luckily, our guide could tell us what animal it was, because we thought we were about to be attacked by some kind of wild cat or sloth bear and almost ran the rest of the way back to Pokhara.
Once we made it out of the dense forest, we stopped for a snack in an opening. There are no teahouses or places to eat on the way, so I recommend ordering extra food from the teahouse in Panchase Bhanjyang. We ordered roasted potatoes with a dry achar (timur, salt, and masala) to dip in, hard boiled eggs, and chapati. It was the perfect snack to eat on the way. We sat under a large Chautari tree near a cow shed once we got out of the jungle section of the walk.
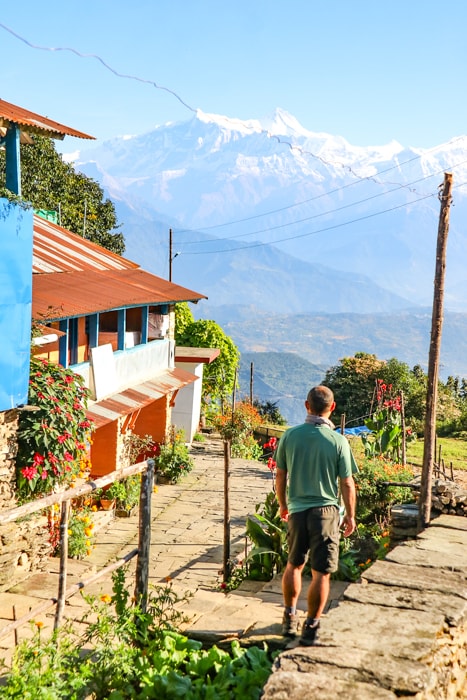
From there, it’s a beautiful descent into the village of Bhumdi which is part of Pumdi Bhumdi. You can see the village below with the mountains towering above on a clear day. I had a blister on my foot, so we stopped at the first teahouse we could find which turned out to be nice with a welcoming owner. But, if you want something a little more luxurious, you can walk to Pumdikot Mountain Lodge which is another 1.5 hours away.
Day 3 – Bhumdi to Pokhara
Bhumdi Altitude: 1,525m (5,000 ft)
Pokhara Altitude: 822 m (2,696 ft)
Daily Altitude Decrease: 703 m (2,306 ft)
Oxygen Concentration: 91% compared to 100% at sea level
Walking Time: 3 hours 30 minutes (not including lunch/tea breaks)
Walking Distance: 9.6 km (6 miles)
Hotel: Check out my list of the best hotels in Pokhara
Daily Details:
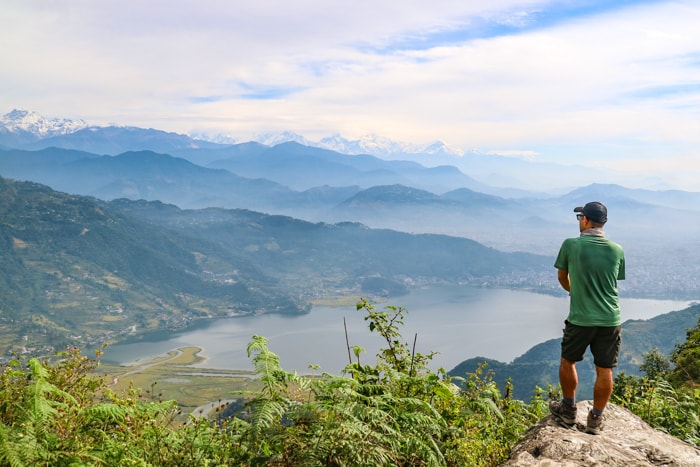
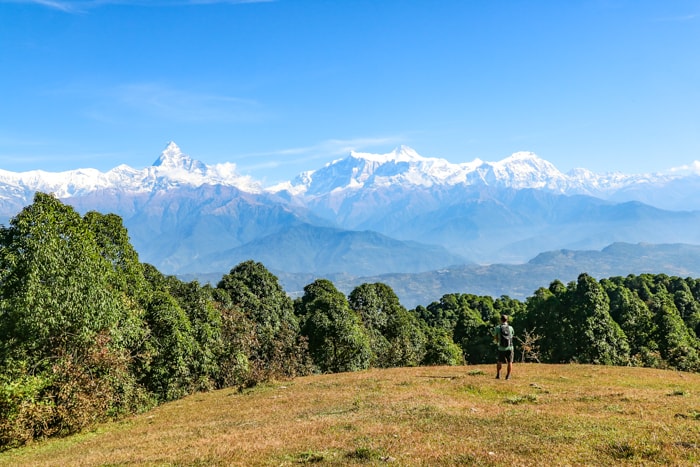
Day 3 starts with a walk along the road for at least 30 minutes. Then, you follow a beautiful village pathway until you reach a gorgeous ridge line that overlooks Lake Phewa and the city of Pokhara in the distance. We decided to stop at Pumdikot Mountain Lodge for a tea break. The views from here were spectacular. We had incredible weather and the mountain range was stunning.
From here, you can either take the main road or the adventurous route which keeps you on the ridgeline of the lake. This route has some areas with rock scrambles for about 30 minutes. Then, you’ll see the giant Shiva statue that overlooks the lake below. You can spend some time looking around and taking photos or even have a bite to eat.
After the statue, there’s a small pathway that leads through villages and bypasses the main road for 25 minutes. Then you meet up with the main road and follow that for a half hour. Luckily it’s paved, so it’s not dusty. You’ll see a smaller dirt road leading off to the left and that takes you to the Peace Pagoda. This is one of the most popular tourist attractions in Pokhara and is worth a visit.
After the Peace Pagoda, you can follow a pathway down through the forest. It’s a nice stairway leading down, but after the long morning, my legs were feeling shaky and my blister under my toe was hurting. But if you’re in good shape, it’s a lovely walk through the trees until you reach the boat launch. The boat cost us 650 NRS (price in 2024) and it took us almost directly across the lake for 20 minutes. There are a few different docks in Lakeside, so you can tell them the one closest to your hotel, however, the price will be different depending on the dock. The boat ride is the perfect way to end a long walk and enjoy a peaceful glide across the lake.
Panchase Trek Village Guides
Bhadaure, Nepal: Village Guide
Panchase Bhanjyang, Nepal: Village Guide
Pumdi Bhumdi, Nepal: Village Guide
Have any questions about the Panchase Trek itinerary? Ask me in the comments.
You might also like…
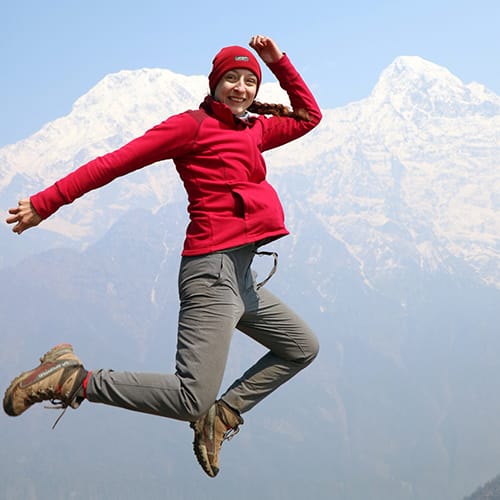
Michelle Della Giovanna
Writer at Full Time Explorer
I’m just your average New Yorker who quit her job in the fashion industry to explore the world. Come find out what it’s like to trade in five-inch heels for squat toilets.
Leave a Reply